Short answer
Commercial refrigeration installation means preparing power, drains, water and clear condenser air, placing or assembling the equipment, and for split systems piping, pressure testing, evacuating to about 500 microns and charging the refrigerant. Plug-in cabinets need 50–150 mm (2–6 in) of condenser clearance; outdoor condensing units need 300–600 mm (12–24 in). Finish with a documented commissioning check.
Key takeaways
- Rear-breathing plug-in cabinets need about 50–150 mm (2–6 in) of clearance; outdoor condensing units 300–600 mm (12–24 in).
- Ice machines need potable water at 1.4–5.5 bar (20–80 psi) through a filter and a drain with an air gap.
- Walk-in evaporator drains need at least a 2% fall (1/4 in per ft), a trap outside the room and a heater on freezers.
- Evacuate split systems to about 500 microns (67 Pa) and confirm the vacuum holds before charging.
- Typical commissioning targets: 4–8 K superheat on TXV systems and 3–8 K subcooling.
- Refrigerant piping, charging and compressor replacement must be done by certified refrigeration contractors.
What does commercial refrigeration installation involve?
Commercial refrigeration installation means preparing the site, placing and connecting the equipment to power, drainage and (for ice machines) water, building any cold room, running and testing refrigerant piping for split systems, then commissioning and handing over with records. Plug-in cabinets need only the first steps; walk-ins and remote condensing units need the full sequence.
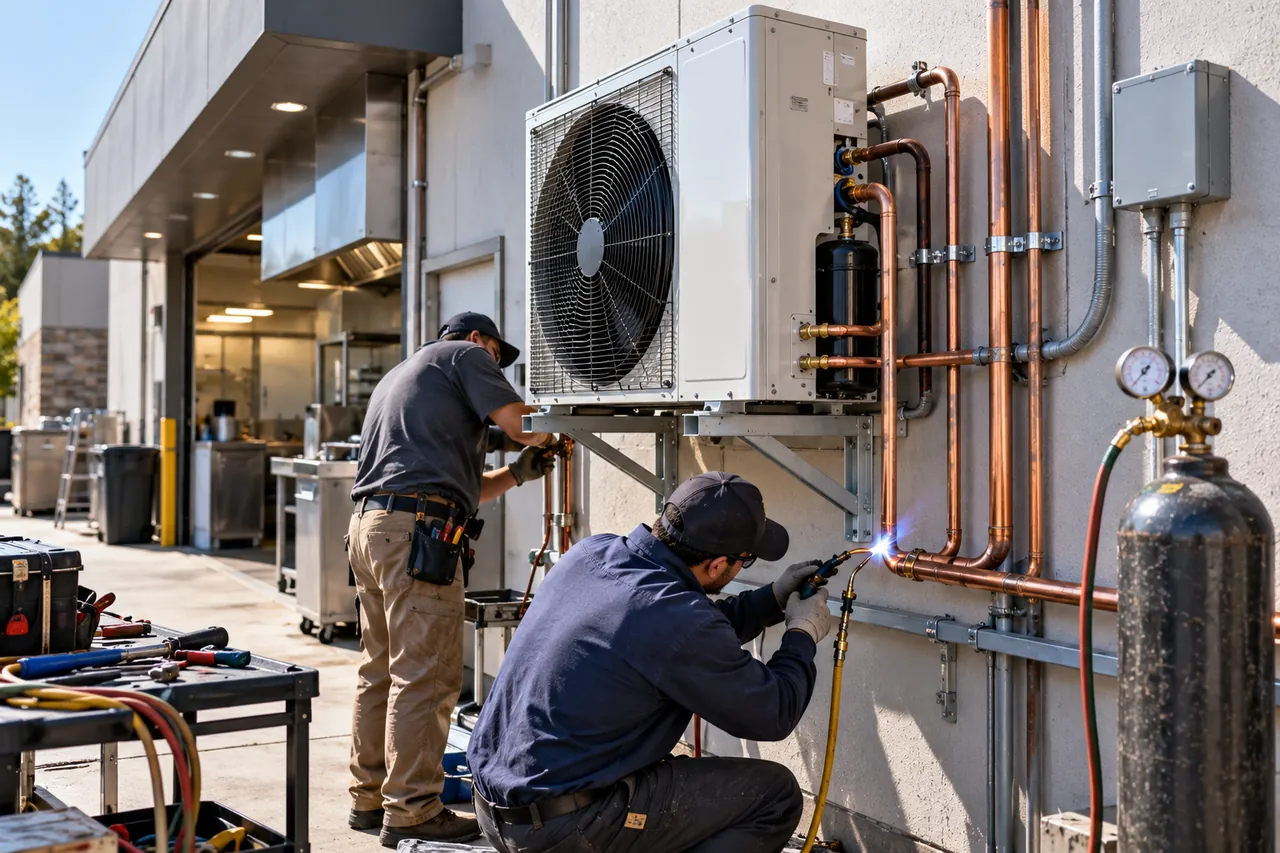
The work divides into two kinds. Plug-in (self-contained) equipment, such as display fridges, reach-ins, display freezers and most undercounter ice machines, arrives factory-charged and needs a suitable location, the right electrical supply and correct clearances. Split and remote systems, such as walk-in coolers and freezers with outdoor condensing units, remote display cases and racks, need refrigerant piping made on site, which by law in most countries must be done by certified refrigeration contractors handling F-gases or flammable refrigerants under local rules.
Most early failures in new equipment are installation faults rather than manufacturing defects: blocked condenser air, a hot or cramped plant room, a voltage drop on a long cable, a poorly sloped drain or a refrigerant circuit that was not properly evacuated. Planning removes most of them before the equipment arrives.
What should you plan before installing commercial refrigeration?
Before delivery, confirm that the equipment can be brought in, that the floor, power, drains and water are ready, and that there is somewhere for the condenser heat to go. A short site survey against the equipment's installation manual prevents most delays.
| Equipment | Power | Drainage and water | Location and air |
|---|---|---|---|
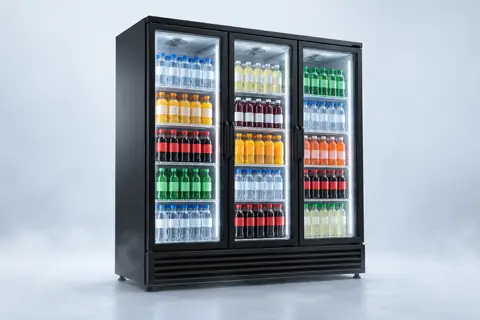
| Plug-in display fridge or reach-in | Dedicated socket, 220–240 V 50 Hz or 115 V 60 Hz as specified | Usually self-evaporating; check tray | Clearance for condenser air, out of direct sun and away from ovens |
| Display or chest freezer | Dedicated circuit; check start current | Manual-defrost models need draining | Level floor, ambient within climate class |
| Ice machine | Dedicated circuit | Potable water 1.4–5.5 bar (20–80 psi) with filter; gravity drain with air gap | Room 10–32 °C (50–90 °F) typical; ventilation for air-cooled |
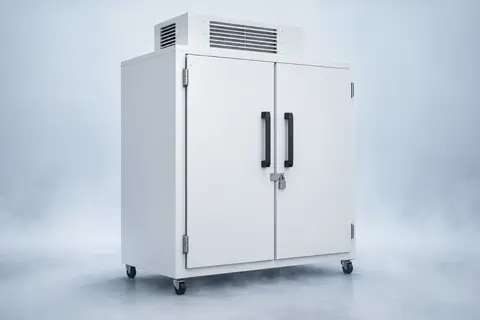
| Walk-in cooler or freezer (split) | Condensing unit supply, often three-phase above about 3 HP; evaporator and lights separate | Evaporator drain to a trapped drain outside the room; heated line on freezers | Level floor, insulated floor for freezers, shaded and ventilated condensing unit |
| Remote condensing unit or rack | Three-phase, isolator at the unit | None at unit | Outdoors or in a ventilated plant room, away from exhausts |
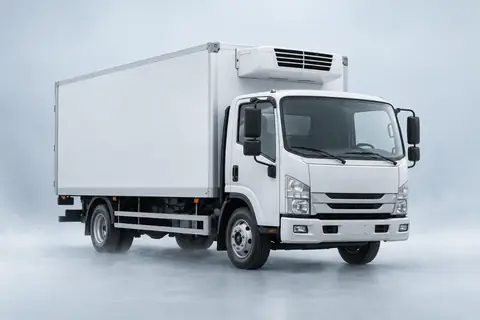
| Truck or van refrigeration unit | Vehicle electrics, plus standby power if fitted | Evaporator drain through the box | Condenser on the front of the box, compressor drive per kit |
Also check the delivery route (door widths, lifts and corners, especially for upright cabinets around 2 m or 79 in tall), floor loading for heavy rooms, local electrical and plumbing rules, and whether the building's ambient will stay within the equipment rating in summer. Display cabinets tested to ISO 23953 climate class 3 are rated at +25 °C and 60% relative humidity; a shop that reaches +32 °C needs equipment and condensing units selected for that.
What clearances does refrigeration equipment need?
Refrigeration equipment needs clear air to the condenser: typically about 50–150 mm (2–6 in) at the back and sides of rear-breathing plug-in cabinets, no rear gap for front-breathing undercounter units, and about 300–600 mm (12–24 in) around outdoor condensing units, with more on the air inlet and discharge sides. Always use the manufacturer's figures where they differ.
| Equipment | Typical minimum clearance | Notes |
|---|---|---|
| Rear-breathing upright display fridge | 50–100 mm (2–4 in) rear, 50 mm sides, 150–300 mm (6–12 in) above top-mounted condensers | Do not box in the top grille |
| Front-breathing undercounter unit | 0 mm rear; keep front grille clear | Required for built-in counters |
| Air-cooled ice machine | 150 mm (6 in) at air inlet and outlet sides | Output falls in hot rooms |
| Outdoor condensing unit | 300–600 mm (12–24 in) at coil, 1–1.5 m (3–5 ft) in front of fan discharge | Avoid recirculation in corners and under eaves |
| Rooftop or monoblock on a cold room | 300 mm (12 in) above the room ceiling for air and service | Check ceiling height before ordering |
| Service access | About 600–900 mm (24–36 in) in front of control panels | Electrical codes may set minimums |
A condensing unit that recirculates its own hot air can run at a condensing temperature 5–10 K higher than designed, which costs capacity, energy and compressor life. Grouping several condensing units in a narrow yard or lining up display fridges against a wall with no rear gap are the commonest mistakes.
How is a walk-in cooler or freezer installed?
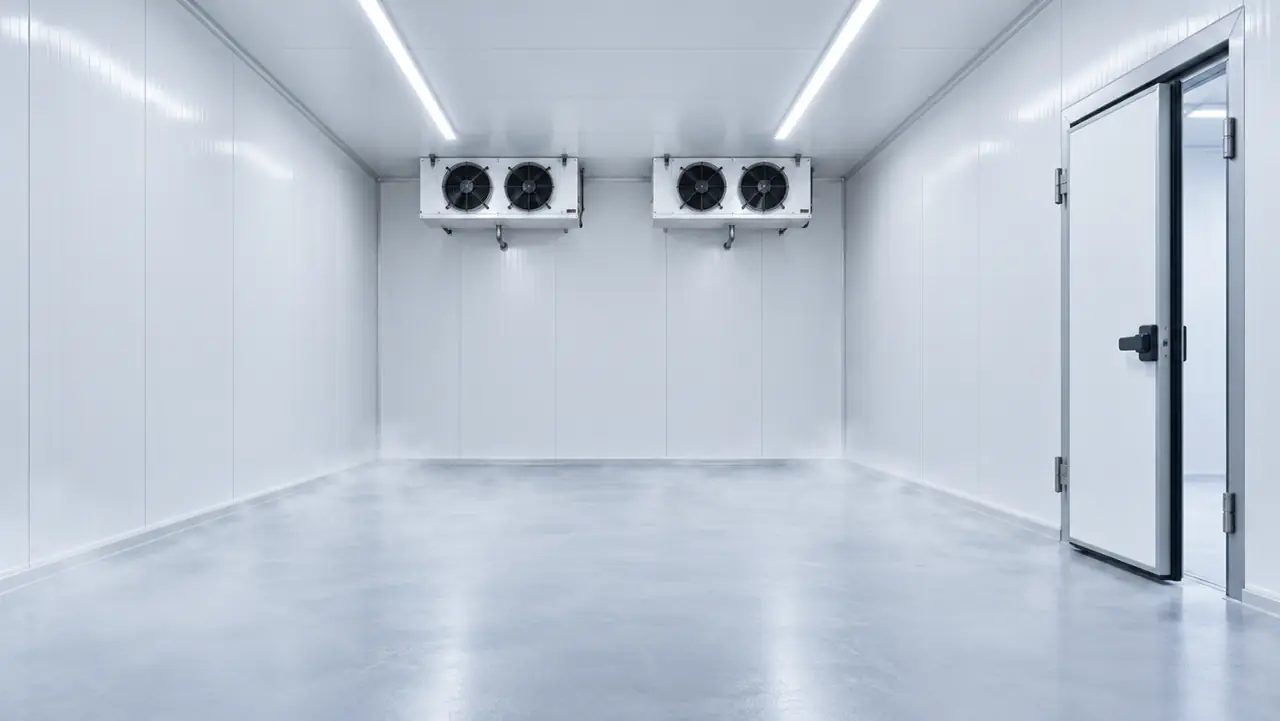
Walk-in cooler installation follows a fixed order: prepare a level floor, assemble the floor and wall panels, fit the ceiling and door, seal every joint, mount the evaporator and condensing unit, pipe and wire them, pressure test, evacuate, charge, and pull down slowly. A small prefabricated walk-in typically takes a crew of two about one to three days to assemble and connect.
- Check the floor is level to within about 3 mm per 3 m (1/8 in per 10 ft); for a walk-in freezer installation, lay insulated floor panels or an XPS-insulated slab first, as explained in our walk-in floor insulation guide.
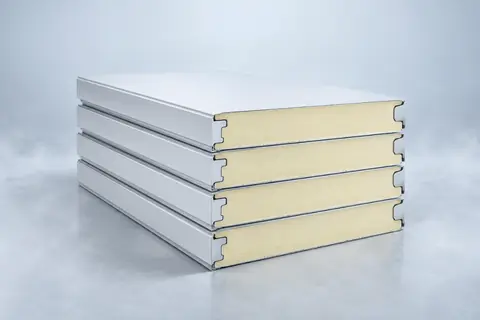
- Set out and assemble wall panels from one corner, locking cam-locks or tongue-and-groove joints in sequence, then fit ceiling panels, with hangers on wide spans.
- Fit the door frame and door, adjust the closer and gaskets, and connect the frame heater on freezers.
- Seal all internal joints with food-safe sealant and fit trims, kick plates and the pressure relief port (freezers).
- Hang the evaporator with clearance for air return and coil removal, sloping slightly toward the drain.
- Run the drain out of the room with a fall of at least 2% (1/4 in per ft), a trap outside the room and, on freezers, a heater cable inside the cold space.
- Mount the condensing unit, run insulated suction and liquid lines, and wire the controller, solenoid, fans, defrost and lights.
Our step-by-step guide on how to build a walk-in cold room covers panel assembly in more detail, and the condensing unit and evaporator guide explains equipment selection.
Refrigerant piping good practice
- Size suction and liquid lines from the manufacturer's tables for the actual run length and refrigerant.
- Slope horizontal suction lines toward the compressor, about 1 cm per metre (1/8 in per ft), so oil returns.
- Fit an oil trap at the bottom of vertical suction risers and roughly every 6 m (20 ft) of rise.
- Braze with a dry nitrogen purge to stop internal oxide scale; support pipes every 1.5–2 m.
- Insulate the full suction line with closed-cell insulation, and keep liquid lines out of hot spaces.
What is a refrigeration service valve, and how is it used during installation?
A refrigeration service valve is a valve on the compressor, condensing unit or receiver that lets a technician connect gauges, isolate parts of the circuit and charge or recover refrigerant. Common types are Schrader access valves, front- and back-seating stem valves (including rotalock valves on compressors) and ball-type service valves.
Many condensing units ship with a holding charge or with refrigerant stored in the unit behind closed service valves. The installer connects the field piping to the closed valves, pressure tests and evacuates the field piping and evaporator, then opens the valves. With stem-type valves, the stem is turned fully anti-clockwise (back-seated) for normal operation and cracked off the back seat to read pressure at the gauge port. After use, refit and tighten caps, which form the secondary seal: loose service valve caps and Schrader cores are a common source of slow leaks.
When people search how to install a refrigerator compressor, the answer is that compressor replacement is a sealed-system job: recover the refrigerant, replace the compressor and filter drier, pressure test, evacuate and charge by weight. It requires refrigerant certification and recovery equipment, and should not be attempted without them.
How do you install a commercial ice machine?
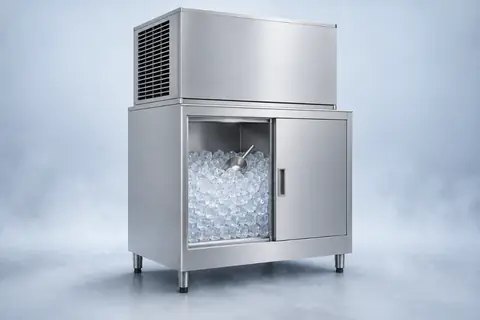
Ice maker installation needs a level site, a dedicated electrical circuit, a potable cold-water supply of about 1.4–5.5 bar (20–80 psi) through a filter and shut-off valve, and a gravity drain with an air gap so waste water cannot siphon back into the machine. Air-cooled models also need free air around the condenser.
- Place the machine on its bin or stand, level it with the adjustable feet and seal the head to the bin if modular.
- Fit a shut-off valve and water filter on the inlet; a typical ice maker installation kit includes an inlet hose, a filter head and cartridge, drain fittings and flexible drain hose.
- Run separate drain lines for the bin and machine to an open floor drain or standpipe with an air gap, never directly into a sealed waste pipe.
- Connect power to a dedicated circuit of the specified voltage; water-cooled models also need a condenser water supply and drain.
- Flush the water line, start the machine, discard the first batches of ice and check ice thickness and harvest.
Water and room temperatures affect output: ice machines are rated at +32 °C (90 °F) air and +21 °C (70 °F) water in standard tests, and output drops in hotter rooms. For sizing and site choices, see our ice machine sizing guide.
What should a refrigeration commissioning checklist include?
Commissioning proves that the installed system is tight, correctly charged, controlled and safe before food goes in. For split systems it starts with pressure and vacuum tests and ends with a documented pull-down and defrost test.
- Pressure test the field piping with dry nitrogen to the test pressure required by the equipment and local code, and check for pressure loss and leaks.
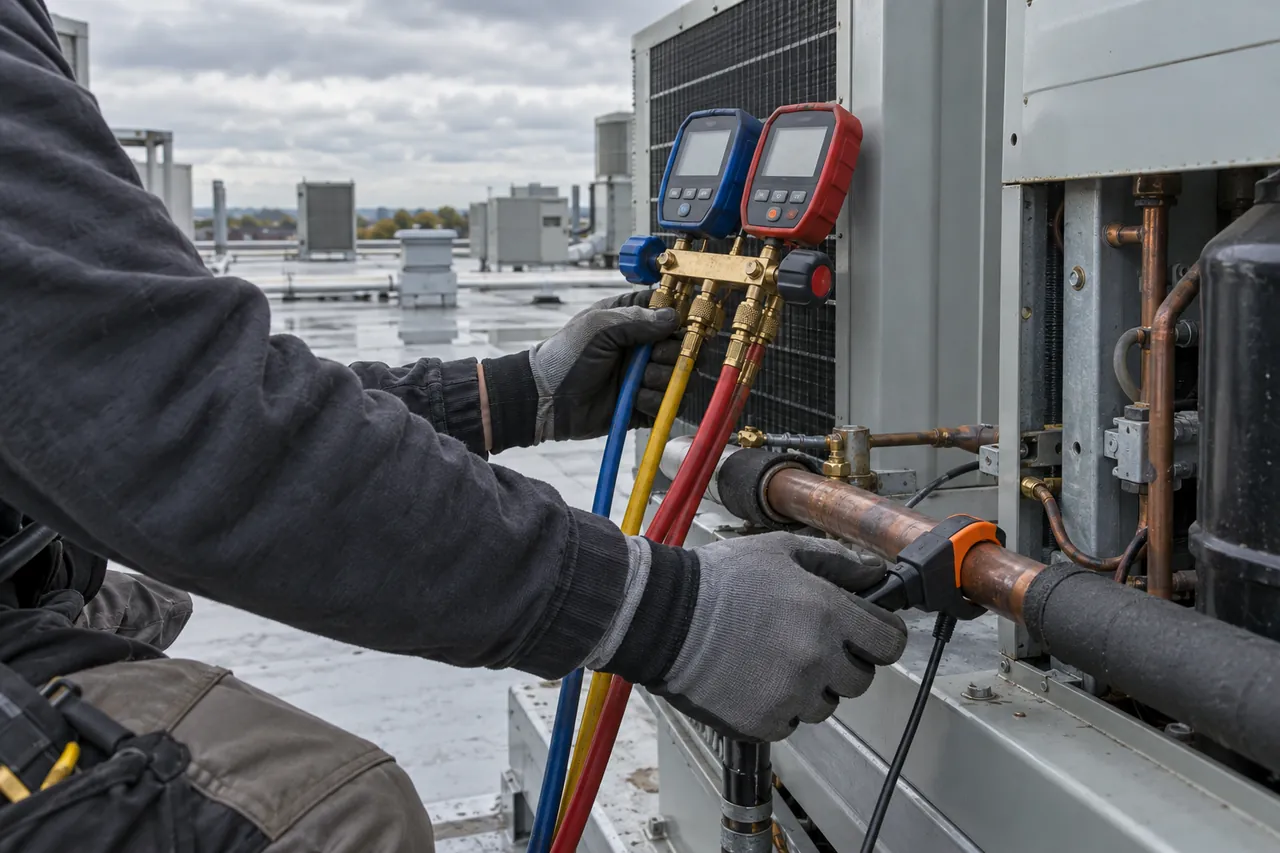
- Evacuate to about 500 microns (67 Pa) or lower and confirm the vacuum holds for at least 10–15 minutes after isolating the pump.
- Charge by weight to the nameplate or calculated charge, then trim using sight glass, subcooling and superheat.
- Check evaporator superheat, typically about 4–8 K (7–14 °F) on TXV systems, and liquid subcooling, often 3–8 K (5–14 °F); our superheat and subcooling guide shows the method.
- Measure compressor and fan currents against the nameplate, and supply voltage under load (within about ±10% of rated voltage).
- Verify high and low pressure switch settings, controller set point, differential, defrost interval and termination, fan delay and alarms.
- Pull down an empty room slowly, especially a freezer: hold about +5 °C, then step down by a few degrees per day for new rooms so panels and floor are not stressed, as the manufacturer advises.
- Run and observe a full defrost and check the drain clears.
- Record everything and hand over manuals, settings, refrigerant type and charge, and the maintenance plan.
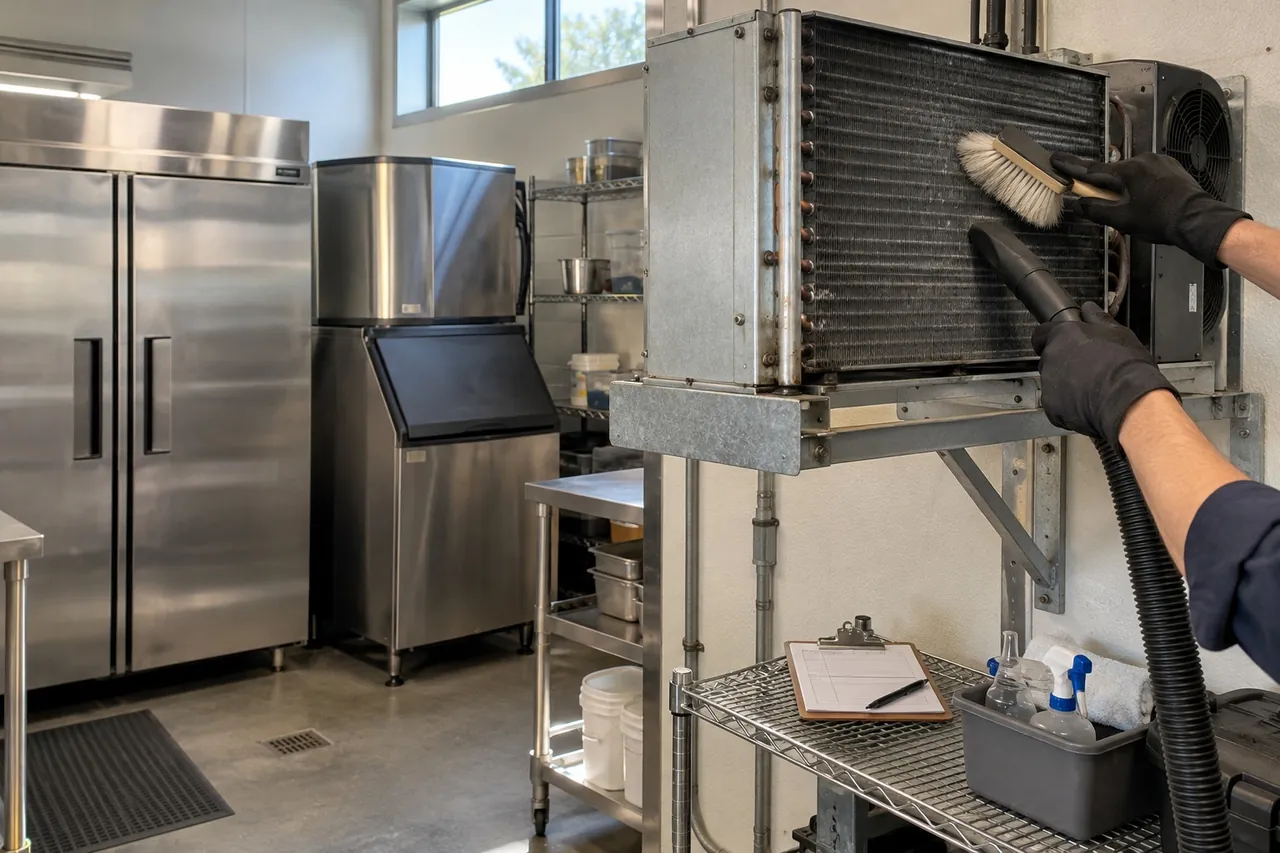
Ongoing service intervals are listed in our commercial refrigeration maintenance checklist.
How much does commercial refrigeration installation cost?
Installation cost depends mostly on whether site-made refrigerant piping is needed. Plug-in cabinets usually cost little beyond delivery and a suitable socket; a walk-in cooler or freezer with a remote condensing unit adds panel assembly, piping, electrical work and commissioning, and often accounts for a significant share of the installed total.
As an indicative example for the US, our walk-in cooler cost guide puts a small 1.8 × 2.4 m (6 × 8 ft) walk-in at about US$8,000–16,000 installed, with freezers typically 20–40% more. Labour rates, travel, crane hire, electrical upgrades, floor work and permits vary widely between markets. Ask refrigeration installation companies for itemised quotes listing panels, refrigeration, piping length, electrical scope, drain work and commissioning so you compare like for like.
How to choose a refrigeration contractor: checklist
Choose commercial refrigeration contractors on certification, experience with your type of equipment and refrigerant, and the commissioning and service they commit to in writing.
- Refrigerant handling certification for the technicians who will do the work, including for flammable refrigerants such as R290 where used.
- References for similar walk-ins, display lines or ice machines.
- An itemised quote with the scope of electrical, plumbing and building work, and who does each.
- A written commissioning record: pressure test, vacuum, charge, superheat, subcooling, currents and settings.
- Warranty terms on labour, response time for breakdowns and a refrigeration service and maintenance plan.
- Agreement on who is responsible if the equipment supplier and installer differ.
Be There supplies equipment that installs predictably: complete walk-in cooler and freezer kits with panels, door, matched condensing unit and evaporator, controller and fixings; commercial ice machines from 25 kg to 20 t per day; and truck refrigeration units with install kits matched to your vehicle. We provide drawings, installation manuals and remote support for your local contractor. Size the room with the cold room calculator, then send your dimensions, temperature, voltage and site photos through the inquiry form and we will quote FOB, CIF or DDP.