Short answer
Superheat is suction line temperature minus the saturation temperature at suction pressure; subcooling is saturation temperature at liquid pressure minus liquid line temperature. Typical TXV targets are 5–7 K (8–12 °F) evaporator superheat for air conditioning, 3–6 K (6–10 °F) for coolers and 1–3 K (2–5 °F) for freezers, with 3–8 K (5–14 °F) subcooling on receiverless systems.
Key takeaways
- Superheat = suction pipe temperature − saturation temperature at suction pressure; subcooling = saturation temperature at liquid pressure − liquid line temperature.
- Typical TXV evaporator superheat: 5–7 K (8–12 °F) high temp, 3–6 K (6–10 °F) medium temp, 1–3 K (2–5 °F) low temp; follow the maker's values first.
- Receiverless TXV systems typically run 3–8 K (5–14 °F) subcooling; receiver systems show only 0–3 K and are charged by sight glass or weight.
- For glide blends such as R407C, R448A and R449A, use dew point for superheat and bubble point for subcooling.
- High superheat with low subcooling suggests undercharge; high superheat with high subcooling suggests a restriction; low superheat with high subcooling suggests overcharge.
- Keep at least about 5–6 K (10 °F) superheat at the compressor to protect against liquid flood-back.
What is superheat?
Superheat is the number of degrees a refrigerant vapour has been heated above its boiling (saturation) temperature at the pressure where it is measured. In a refrigeration system it shows how completely the evaporator is being used: once all the liquid has boiled, any further heat picked up raises the vapour temperature, and that rise is the superheat.
Superheat matters for two reasons. Too little, and liquid refrigerant can reach the compressor, which is designed to pump vapour: liquid washes oil from bearings and can break valves. Too much, and the evaporator is starved: part of the coil is doing no useful cooling, capacity drops, and the compressor runs hot because the suction gas that cools its motor arrives warm.
There are two superheat readings in practice:
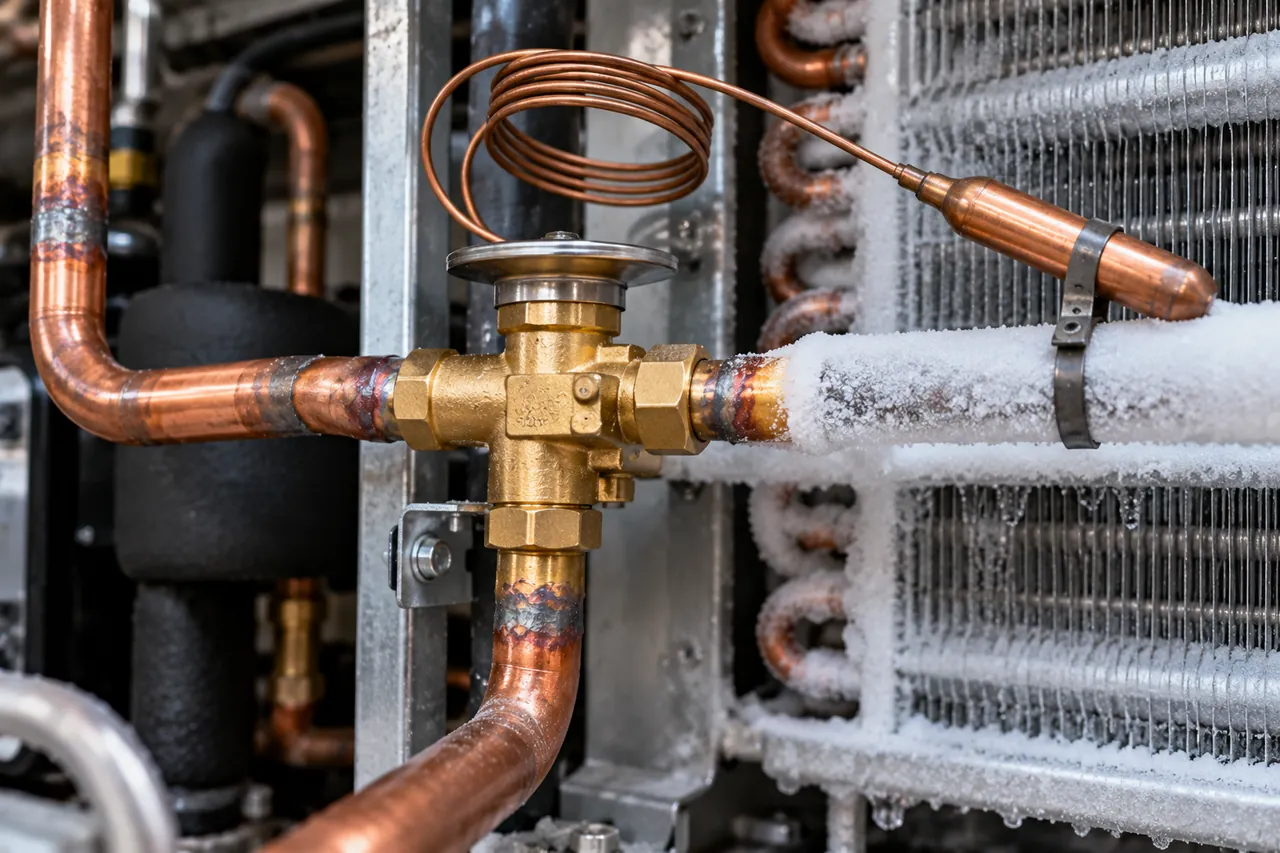
- Evaporator superheat, measured at the evaporator outlet, near the expansion valve's sensing bulb. This is what a TXV controls and what you adjust.
- Total or compressor superheat, measured at the compressor suction inlet. It includes heat picked up in the suction line and protects the compressor.
What is subcooling?
Subcooling is the number of degrees a liquid refrigerant has been cooled below its condensing (saturation) temperature at the pressure where it is measured. It shows that the condenser has fully condensed the refrigerant and that the liquid line is carrying solid liquid, not a liquid–vapour mix, to the expansion device.
A few degrees of subcooling prevents flash gas in the liquid line, which would starve the expansion valve and reduce capacity. Each degree of subcooling also adds a little refrigerating effect per kilogram circulated. Too much subcooling, though, means liquid is backing up and filling condenser tubes, which raises head pressure and power use. For how both fit into the cycle, see how refrigeration works.
What are the superheat and subcooling formulas?
The superheat formula is: superheat = actual suction line temperature − saturation temperature at suction pressure. The subcooling formula is: subcooling = saturation temperature at liquid (condensing) pressure − actual liquid line temperature. Both are temperature differences, written in kelvin (K) or °F; 1 K equals 1.8 °F.
| Value | Pressure reading | Temperature reading | Formula |
|---|---|---|---|
| Evaporator superheat | Suction pressure at the evaporator outlet (or at the suction service valve, correcting for line pressure drop) | Suction pipe at the TXV bulb | T pipe − T saturation (suction) |
| Compressor superheat | Suction pressure at the compressor | Suction pipe 150 mm (6 in) before the compressor | T pipe − T saturation (suction) |
| Subcooling | Liquid line or discharge pressure | Liquid line at the condenser or receiver outlet | T saturation (liquid) − T pipe |
For zeotropic blends with temperature glide, such as R407C, R407F, R448A and R449A, use the dew point temperature for superheat and the bubble point temperature for subcooling. Using the wrong column can make superheat look several degrees wrong. R404A and R507A have little or no glide; single-component refrigerants such as R134a, R290 and R744 have none.
How do you measure superheat and subcooling?
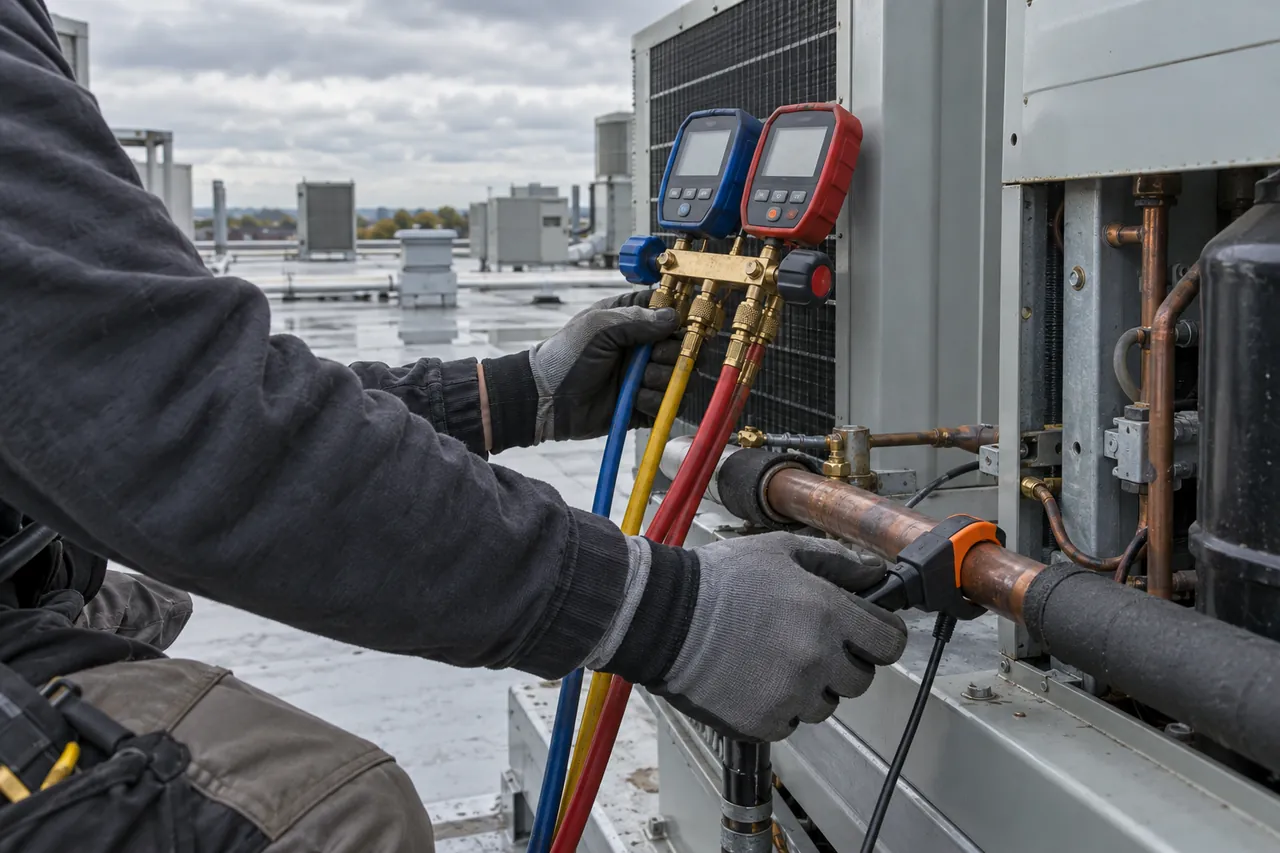
You measure superheat and subcooling with a refrigeration gauge set (analogue or digital) and an accurate pipe-clamp thermometer, after the system has run steadily for at least 10–15 minutes at a normal load. Convert each pressure to saturation temperature with a pressure–temperature (PT) chart or the gauge's built-in refrigerant table, then subtract.
- Confirm the refrigerant from the data plate and set it on the digital gauges.
- Run the system until box temperature and pressures are stable; do not measure during pull-down from warm or just after defrost.
- Clean the pipe and fit the clamp thermometer at the right point; insulate the clamp so room air does not affect it.
- Read suction pressure and convert it to saturation temperature (dew point for blends).
- Read suction pipe temperature; subtract to get superheat.
- Read liquid line pressure (or discharge pressure if that is the only port) and convert to saturation temperature (bubble point for blends).
- Read liquid line temperature at the condenser or receiver outlet; subtract to get subcooling.
- Record the box temperature, ambient temperature and pressures with the results for future comparison.
Gauges read gauge pressure (bar g or psig); PT charts are usually printed in gauge pressure too, but check, because a 1 bar (14.5 psi) confusion between absolute and gauge pressure gives a large error at low suction pressures.
Worked examples: how to calculate superheat and subcooling
The two examples below show how to calculate superheat and subcooling in metric for a walk-in cooler and in imperial for a split air conditioner. Saturation values are taken from standard PT tables and rounded.
Example 1: walk-in cooler on R134a (metric)
- Suction pressure 1.2 bar g (2.2 bar abs) → saturation −8 °C.
- Suction pipe at the TXV bulb −3 °C → superheat = −3 − (−8) = 5 K (9 °F). Within the typical medium-temperature range.
- Liquid line pressure 9.2 bar g (10.2 bar abs) → saturation +40 °C.
- Liquid line temperature +34 °C → subcooling = 40 − 34 = 6 K (11 °F).
Example 2: split air conditioner on R410A (imperial)
- Suction pressure 118 psig → saturation 40 °F.
- Suction line 52 °F → superheat = 52 − 40 = 12 °F (6.7 K).
- Liquid line pressure 340 psig → saturation 105 °F.
- Liquid line 95 °F → subcooling = 105 − 95 = 10 °F (5.6 K).
What should superheat and subcooling be?
Typical targets for TXV systems are an evaporator superheat of about 5–7 K (8–12 °F) for air conditioning and high-temperature rooms, 3–6 K (6–10 °F) for medium-temperature coolers and 1–3 K (2–5 °F) for low-temperature freezers, with liquid subcooling of about 3–8 K (5–14 °F) on systems without a liquid receiver. Always use the equipment maker's values where given.
| Application (evaporating temperature) | Typical evaporator superheat (TXV) | Typical compressor superheat |
|---|---|---|
| Air conditioning, high temp (above about 0 °C / 32 °F) | 5–7 K (8–12 °F) | 8–17 K (15–30 °F) |
| Medium temp coolers (about −18 °C to 0 °C / 0–32 °F) | 3–6 K (6–10 °F) | 8–17 K (15–30 °F) |
| Low temp freezers (below about −18 °C / 0 °F) | 1–3 K (2–5 °F) | 8–17 K (15–30 °F), within the compressor's return gas limit |
| System type | Typical subcooling | How to charge |
|---|---|---|
| TXV/EEV system without receiver (many split AC, some condensing units) | 3–8 K (5–14 °F), often about 5–6 K (10 °F) | To the maker's target subcooling |
| System with liquid receiver (most walk-ins, racks) | 0–3 K at the receiver outlet; more if a subcooler is fitted | Clear sight glass at full load plus the maker's margin, or by weight; not by subcooling |
| Fixed orifice or capillary tube | Varies with load | By weight, or to a target superheat chart based on indoor and outdoor conditions |
Caveats matter here. Typical ranges assume steady running at design load; at light load or in cold weather the numbers move. Compressor superheat must also respect the compressor's maximum return gas temperature: some semi-hermetic compressors limit it to around 18–20 °C (65–68 °F) on low-temperature duty, so long suction lines may need insulation or a liquid-injection solution. A minimum of about 5–6 K (10 °F) at the compressor is a common safety floor against flood-back.
What do high or low superheat and subcooling mean?
Reading superheat and subcooling together diagnoses most charge and flow faults. High superheat with low subcooling points to an undercharge or leak; low superheat with high subcooling to an overcharge; high superheat with high subcooling to a restriction; low superheat with low subcooling to an overfeeding valve or flooding.
| Superheat | Subcooling | Suction / head pressure | Most likely cause |
|---|---|---|---|
| High | Low | Low / low | Undercharge or refrigerant leak; bubbles in sight glass |
| High | High | Low / normal or high | Restriction: blocked filter drier, kinked liquid line, TXV stuck or under-feeding, lost bulb charge |
| High | Low | High / low, low amps | Inefficient compressor (worn valves) |
| Low | High | High / high | Overcharge (fixed-orifice systems); non-condensables raise head too |
| Low | Low or normal | Low / normal | Low evaporator load: iced coil, failed evaporator fan, blocked air flow |
| Low | Low | Normal or high / normal | TXV overfeeding: bulb loose or in a warm spot, valve oversized or set too low |
| Normal | Low | Normal / low | Moderate undercharge on a TXV system (the valve opens further and still holds superheat) |
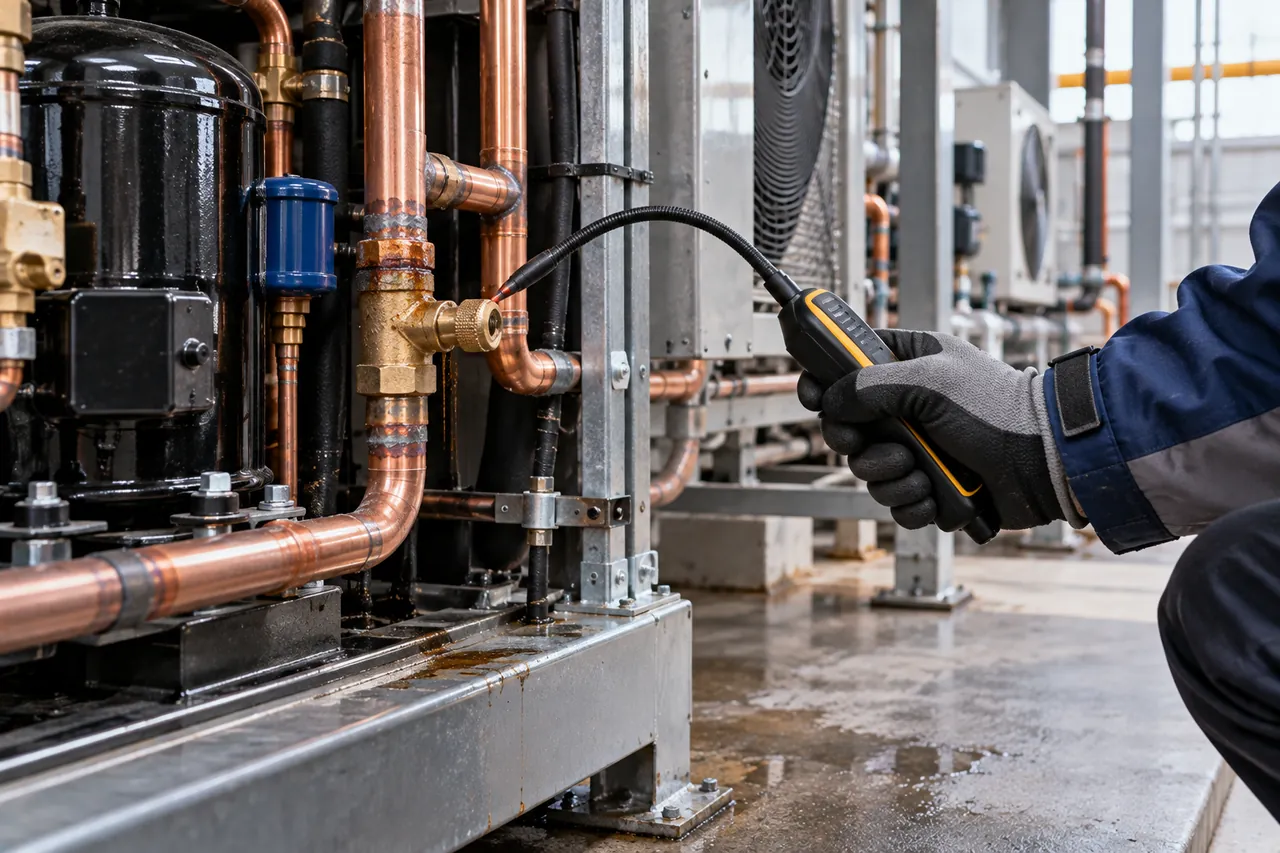
A reading of zero superheat means saturated refrigerant (liquid still present) at the measurement point. "Negative superheat" cannot exist in vapour; it means a wrong refrigerant setting, wrong dew/bubble column, a bad clamp reading or liquid at the sensor. For a suspected leak, see our refrigerant leak guide; for compressor symptoms, refrigerator compressor troubleshooting.
How do you raise or lower superheat?
On a TXV system you raise superheat by turning the valve's adjusting stem clockwise (more spring force, less flow) and lower it by turning anticlockwise, in steps of a quarter to half a turn, waiting about 15 minutes after each step. On fixed-orifice systems you change superheat by adjusting charge or air flow, not a valve.
Before touching the valve, rule out the causes that mimic a bad setting: a loose or badly placed sensing bulb, a dirty coil or failed fan, a blocked filter drier, wrong charge or flash gas in the liquid line. Most TXVs leave the factory set correctly and are rarely the root cause. Bulb position, adjustment and valve faults are covered step by step in our TXV expansion valve guide, and coil selection in evaporator coils and unit coolers.
To increase subcooling on a system without a receiver, add charge in small amounts; to reduce it, recover charge. On receiver systems, low subcooling with bubbles in the sight glass usually means undercharge or a leak, while high condensing pressure with high subcooling can mean overcharge or a condenser problem.
Superheat and subcooling checklist
- Identify the refrigerant and whether it has glide (use dew point for superheat, bubble point for subcooling).
- Identify the metering device (TXV, EEV, capillary, orifice) and whether there is a liquid receiver.
- Let the system stabilise 10–15 minutes at normal load, away from defrost.
- Measure at the right points with an insulated clamp thermometer and calibrated gauges.
- Compare with the maker's targets, or typical ranges: 5–7 K high temp, 3–6 K medium temp, 1–3 K low temp evaporator superheat.
- Read superheat and subcooling together with pressures, amps and box temperature before diagnosing.
- Fix air-flow, coil and leak problems before adjusting charge or the valve.
- Record commissioning values so later service visits have a baseline; see commercial refrigeration installation and commissioning.
Be There supplies complete walk-in cooler and freezer kits with matched condensing units, evaporators, expansion valves and digital controllers, plus truck refrigeration units for 4–45 m³ boxes. Each system is run-tested before shipment, and we can provide refrigerant type, charge and recommended commissioning values with the quotation. Send your room size, temperature and climate through the inquiry form and we will quote FOB, CIF or DDP.