
Short answer
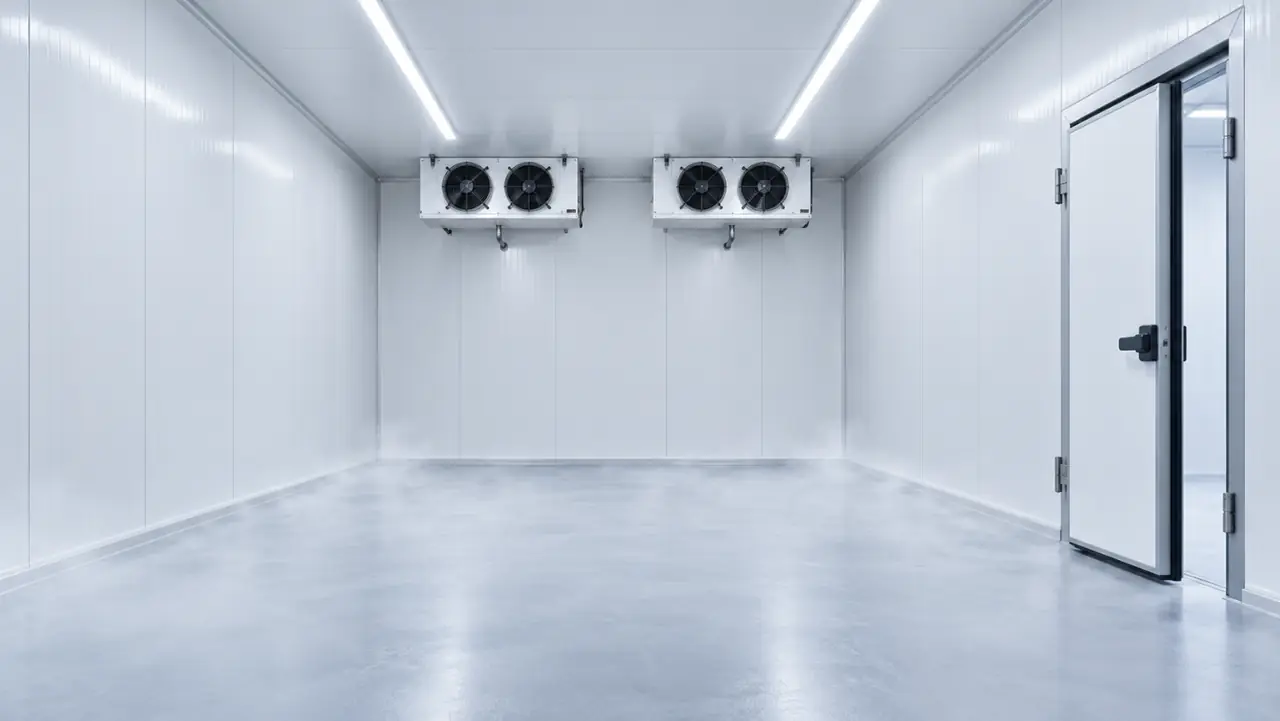
To build a walk-in cold room: confirm size and temperature, prepare a level floor (insulated with heating for freezers), assemble PU/PIR panels from the floor up, fit the insulated door, seal every joint, install the condensing unit and evaporator, then pull down slowly and check temperatures over 24 hours.
1. Plan the room
- Inner dimensions and ceiling height, plus clearance above for the evaporator and below the roof.
- Temperature: chiller (0 °C to +5 °C), freezer (−18 °C to −25 °C) or blast room (−35 °C).
- What goes in, how much per day and at what temperature.
- Door size and traffic: hand trucks, pallet jacks, forklifts.
- Where the condensing unit will go and how heat leaves the building.
2. Prepare the floor
Chillers can stand on a level, sealed concrete slab, often with floor panels or a vinyl floor finish. Freezers need an insulated floor: vapour barrier, XPS boards (100–150 mm), a heating mat or ventilation pipes, and a reinforced wearing slab on top. Skipping the floor is the most common cause of frost heave and cracked slabs.
3. Assemble the panels
- Fix floor channels or U-profiles to the floor, square and level.
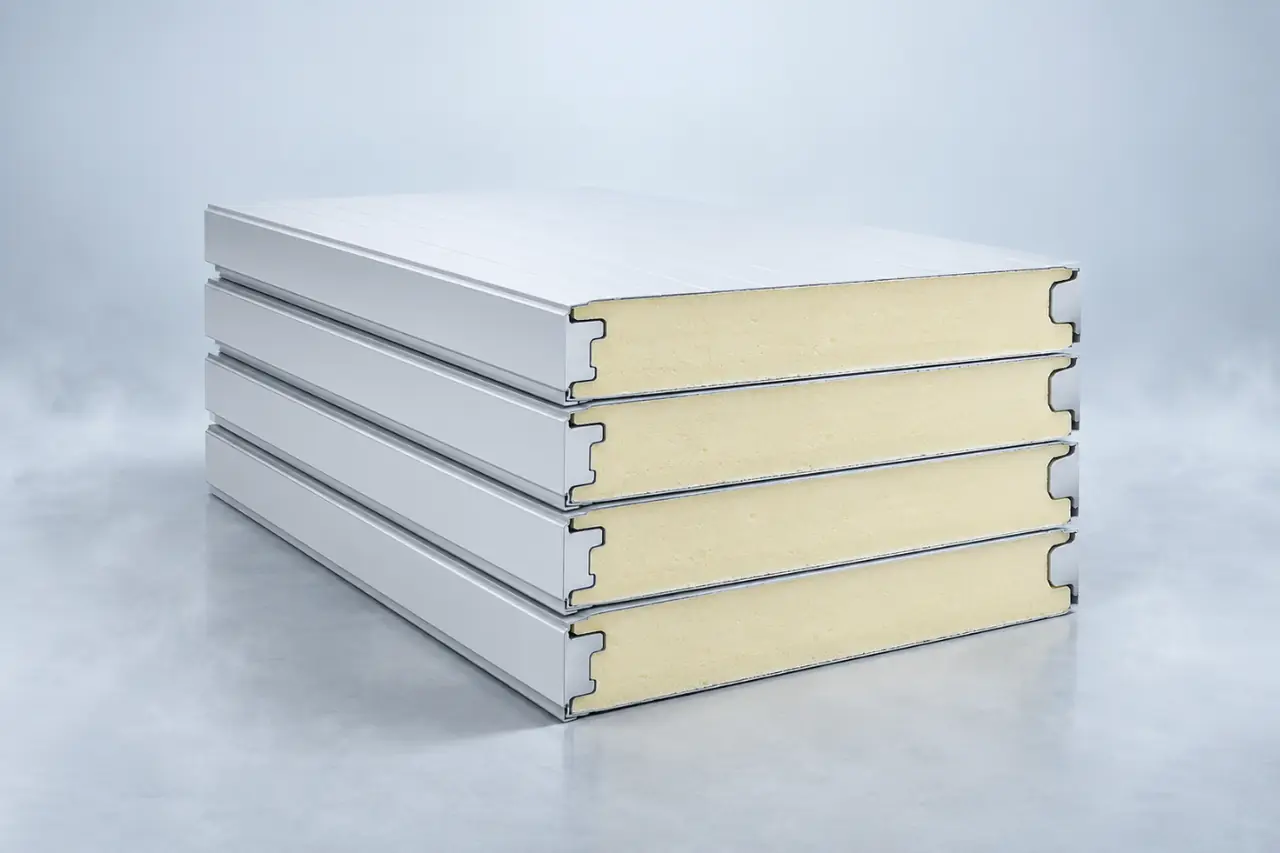
- Stand wall panels from one corner, locking cam-locks or tongue-and-groove joints as you go.
- Lay ceiling panels; use hangers for spans over about 6–7 m.
- Fit corner and ceiling trims; seal every joint on the warm side with silicone.
Panel thickness: 75–100 mm for chillers, 120–150 mm for freezers, 150–200 mm for blast rooms. See our panel thickness guide.
4. Fit the door and accessories
Install the insulated hinged or sliding door square to the frame. Freezer doors need a heated frame. Add a pressure-relief valve (freezers), PVC strip curtain for busy doors, LED lights rated for cold, and an internal safety release handle.
5. Install refrigeration
- Mount the evaporator on the ceiling, away from the door airflow.
- Place the condensing unit where it gets fresh air and service access.
- Run insulated refrigerant lines, drain line with heater (freezers) and power.
- Pressure-test, evacuate and charge per the unit's data plate.
6. Commission
Pull a freezer down in stages rather than in one go to let the structure adjust. Check door seals, defrost settings and alarm limits, then log temperatures for 24 hours before loading product.
Want it as a kit? Our walk-in cold room kits ship with panels, door and refrigeration sized together.