Short answer
A thermostatic expansion valve (TXV) is a metering device at the evaporator inlet that drops refrigerant pressure and modulates flow to hold evaporator superheat steady, typically 3–6 K (6–10 °F) in coolers and 1–3 K (2–5 °F) in freezers. A sensing bulb on the suction line opens the valve as superheat rises; evaporator pressure and a spring close it.
Key takeaways
- A TXV balances bulb pressure (opening) against evaporator pressure plus spring force (closing) to hold superheat steady as load changes.
- The valve sits at the evaporator inlet; its bulb goes on a horizontal suction line at the evaporator outlet, on top for lines up to about 22 mm (7/8 in) and at 4 or 8 o'clock on larger lines.
- Use an external equaliser on any evaporator fed through a refrigerant distributor or with significant pressure drop.
- Starving valves give high superheat and a warm box; overfeeding valves give low superheat and frost back to the compressor.
- Turn the stem clockwise to raise superheat and anticlockwise to lower it, a quarter to half a turn at a time, waiting about 15 minutes.
- Indicatively, a TXV costs about US$50–250, and full replacement by a technician about US$300–1,200.
What is a TXV (thermostatic expansion valve)?
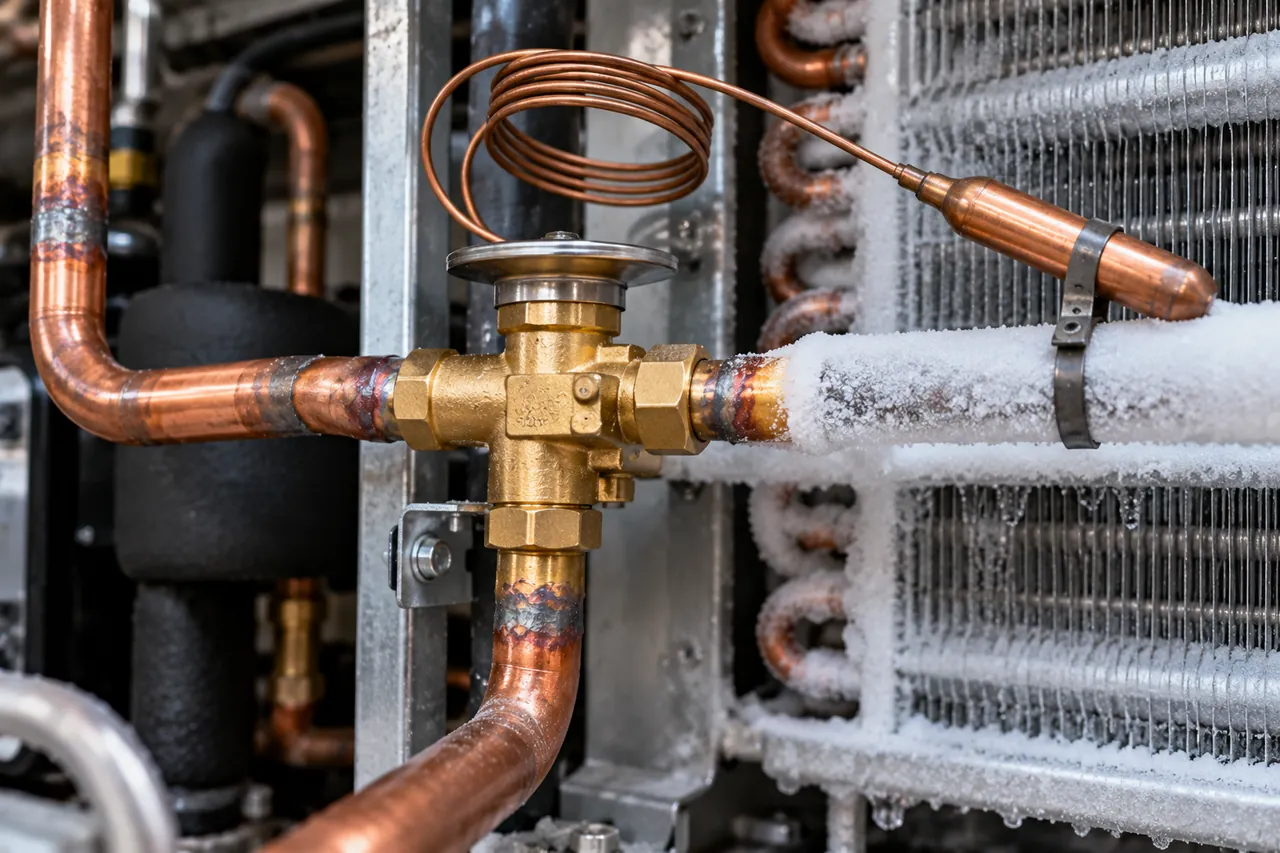
A thermostatic expansion valve (TXV or TEV) is a metering device that feeds liquid refrigerant into an evaporator at just the rate it can boil it, by sensing the temperature of the suction line at the evaporator outlet and keeping the superheat there roughly constant. It also drops the refrigerant from condensing pressure to evaporating pressure, which is what makes the cold side of the cycle cold.
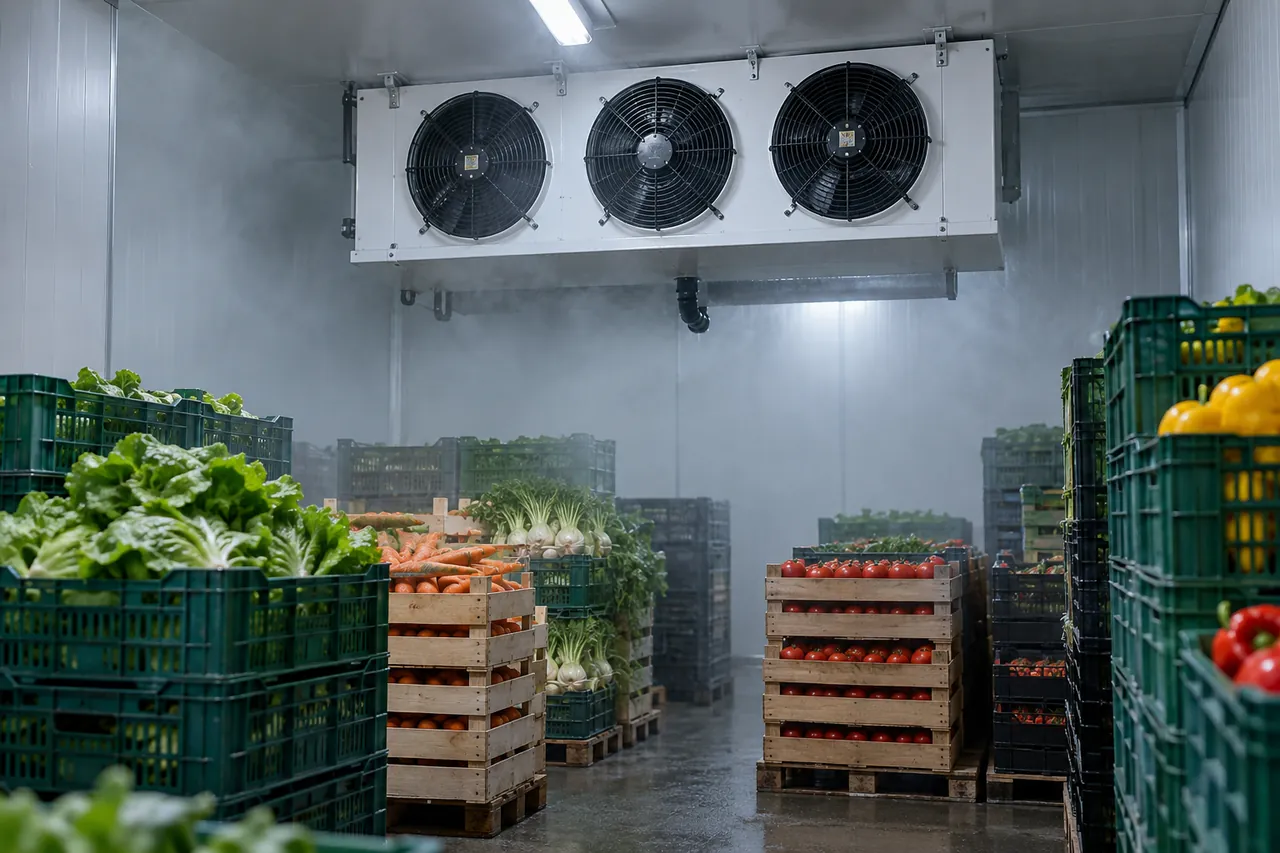
Every vapour compression system needs a metering device between the liquid line and the evaporator. Small plug-in fridges use a fixed capillary tube; many air conditioners use a fixed orifice. A TXV valve is used where the load changes through the day, such as walk-in cold rooms, display cases, reefer units and most split AC systems, because it opens wider when the evaporator has more heat to absorb and closes when the load falls. For the full cycle see how refrigeration works.
How does a thermostatic expansion valve work?
A thermostatic expansion valve works by balancing three pressures on a diaphragm. Pressure from the sensing bulb pushes the valve open; evaporator pressure and a spring push it closed. When the suction line warms (high superheat), bulb pressure rises and the valve opens to feed more refrigerant; when it cools (low superheat), the valve closes.
- The sensing bulb, clamped to the suction line at the evaporator outlet, contains a charge that turns temperature into pressure (P1) above the diaphragm.
- Evaporator pressure (P2) acts below the diaphragm, either from inside the valve body (internal equaliser) or through a small tube from the suction line (external equaliser).
- An adjustable spring (P3) also acts to close the valve. Its force sets the static superheat.
- At balance, P1 = P2 + P3. The pin moves off its seat just enough to keep superheat at the set value as load changes.
| TXV part | Function |
|---|---|
| Power head and diaphragm | Converts bulb pressure into movement of the valve pin |
| Capillary and sensing bulb | Sense suction line temperature at the evaporator outlet |
| Pin (needle) and seat or orifice | Meter refrigerant flow; on many valves the orifice is a replaceable cartridge to change capacity |
| Spring and adjusting stem | Set the superheat; turning the stem changes spring force |
| Equaliser (internal or external) | Applies evaporator pressure under the diaphragm |
| Inlet strainer | Catches debris before the orifice |
Internal or external equaliser?
An internal equaliser senses pressure at the valve outlet and suits small evaporators with little pressure drop. Use an external equaliser whenever the evaporator has a significant pressure drop, which is almost always the case when the coil is fed through a refrigerant distributor with several circuits, as on most commercial unit coolers. Without it, the valve sees a higher pressure than really exists at the outlet and runs with excessive superheat.
Bulb charges and MOP
TXVs come with different bulb charges: liquid, gas, cross charge and adsorption types. Gas-charged valves with an MOP (maximum operating pressure) limit the suction pressure during pull-down after defrost or start-up, protecting the compressor motor from overload. Low-temperature freezers commonly use MOP valves; always replace a valve with the same refrigerant, charge type and capacity.
Where is the expansion valve located?
The expansion valve is located at the inlet of the evaporator, at the end of the liquid line. In a walk-in cold room it sits on or inside the unit cooler on the ceiling; in a display case it is under the case or behind a panel near the coil; in a split air conditioner it is at the indoor coil; and in a car it is usually on the evaporator just inside or at the firewall.
Expansion valve bulb location and position
Correct expansion valve bulb placement matters as much as the valve itself. Common installation rules from valve makers are:
- Fit the bulb on a horizontal section of suction line close to the evaporator outlet, before any trap, and upstream of the external equaliser connection (typically 100–150 mm / 4–6 in before it).
- On suction lines up to about 22 mm (7/8 in), mount the bulb on top of the pipe; on larger lines, at about the 4 or 8 o'clock position, never underneath where oil runs.
- Clean the pipe, strap the bulb with two metal clamps for full contact, and insulate it so room air does not affect it.
- Avoid vertical risers if possible; if unavoidable, follow the maker's orientation guidance.
- Coil the spare capillary neatly where it will not vibrate or rub.
A loose or uninsulated bulb is one of the most common causes of a TXV "fault": a bulb sensing warm room air reads high superheat and opens the valve, flooding the evaporator. See our evaporator coil and unit cooler guide for coil layout.
TXV vs capillary tube vs orifice tube vs electronic expansion valve
Capillary tubes and orifice tubes are fixed restrictions that cannot respond to load; a TXV adjusts mechanically to hold superheat; an electronic expansion valve (EEV) is driven by a controller with pressure and temperature sensors and holds superheat most precisely. The choice depends on system size, load variation and cost.
| Metering device | How it controls flow | Typical use | Pros | Cons |
|---|---|---|---|---|
| Capillary tube | Fixed length of small-bore tube | Plug-in fridges, freezers, display coolers, bar fridges | Cheap, no moving parts, compressor starts unloaded | Needs exact charge; poor at varying load; blocks easily |
| Fixed orifice / orifice tube (piston) | Fixed hole | Some residential AC, many car AC systems with accumulator | Cheap, simple | Superheat varies with conditions; charge-sensitive |
| Thermostatic expansion valve (TXV) | Bulb, diaphragm and spring hold superheat | Walk-ins, display cases, reefer units, split AC, heat pumps | Handles load changes; no electronics | Needs correct bulb fitting; capacity falls at low head pressure |
| Electronic expansion valve (EEV) | Stepper or pulse motor driven by controller | Supermarket cases and racks, inverter systems, CO2, heat pumps | Precise, low superheat, works with low condensing pressure, saves energy | Higher cost; needs controller, sensors and power |
EEVs pair well with floating head pressure, because their capacity does not fall as sharply as a TXV's when condensing pressure drops in cool weather. Our walk-in cooler refrigeration system guide covers the rest of the system.
What are the signs of a bad expansion valve?
The signs of a bad expansion valve fall into two groups. A starving valve gives high superheat, low suction pressure, a partly frosted coil and a warm box; an overfeeding valve gives low or zero superheat, frost or sweat on the suction line back to the compressor and possible liquid flood-back. A hunting valve makes superheat swing up and down every few minutes.
| Symptom | Possible TXV cause | Rule out first |
|---|---|---|
| High superheat, low suction, warm box (starving) | Lost bulb charge (valve fails closed), blocked inlet strainer, ice or wax in the orifice, valve undersized, external equaliser blocked or missing | Low charge, blocked filter drier, flash gas in liquid line, low head pressure in cold weather |
| Low superheat, frost on suction line to compressor (flooding) | Bulb loose, badly placed or uninsulated; valve stuck open with debris; oversized orifice; superheat set too low | Iced evaporator, failed evaporator fan, overcharge |
| Superheat swinging (hunting) | Valve oversized for the load, bulb on a trap or riser, poor bulb contact | Very light load, cycling fans, unstable head pressure |
| Intermittent cooling, recovers after warming | Moisture freezing at the orifice | Wet system: replace drier, evacuate properly |
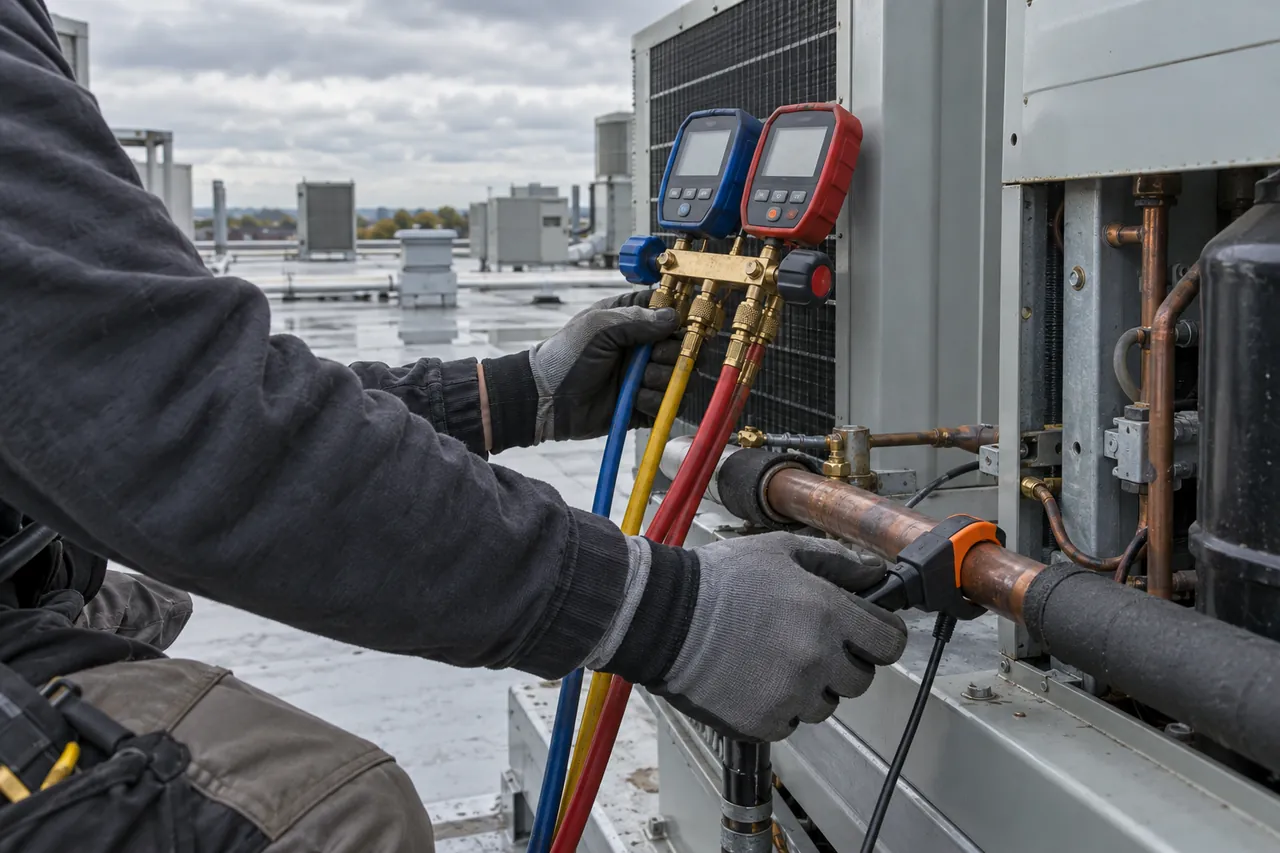
Most "bad TXV" diagnoses are wrong because the real problem is upstream. Before blaming the valve, confirm a solid column of liquid at its inlet (clear sight glass, a few degrees of subcooling) and correct air flow over the coil. Superheat and subcooling readings, explained in how to calculate superheat and subcooling, are the tool for this.
Simple bulb test
- With the system running and gauges fitted, note suction pressure and superheat.
- Warm the bulb in your hand for a minute: the valve should open, suction pressure should rise and superheat fall.
- Remove the bulb and place it in an ice-water mix: the valve should close, suction pressure fall and superheat rise.
- If nothing changes in either direction, the power head has likely lost its charge or the valve is stuck; refit the bulb correctly afterwards.
How do you adjust a thermostatic expansion valve?
Make any thermostatic expansion valve adjustment only after confirming that charge, air flow and bulb mounting are correct. Turning the adjusting stem clockwise increases spring force and raises superheat; anticlockwise lowers it. Move a quarter to half a turn at a time and wait about 15 minutes at stable load before reading again.
- Run the system at normal load for at least 15 minutes; avoid adjusting during pull-down or after defrost.
- Measure evaporator superheat at the bulb location.
- Compare with the target: typically 5–7 K (9–13 °F) for air conditioning, 3–6 K (6–10 °F) for medium-temperature coolers and 1–3 K (2–5 °F) for freezers, unless the equipment maker specifies otherwise.
- Remove the cap, turn the stem a quarter turn in the needed direction and count the turns.
- Wait, re-measure, repeat. The change per turn varies by valve model; check the maker's data.
- Check compressor superheat too; it should stay above about 5–6 K (10 °F).
- Refit the cap and record the final setting.
Valves with replaceable orifice cartridges let you correct a wrongly sized valve without replacing the body. If you run out of adjustment range, the valve is probably the wrong size, has lost charge or something else is wrong.
How much does expansion valve replacement cost?
As an indicative guide, a common commercial or residential TXV costs roughly US$50–250 for the part, and full replacement by a technician typically runs about US$300–1,200 including refrigerant recovery, brazing, a new filter drier, evacuation and recharge. Large valves, EEVs with controllers and difficult access cost more. Prices vary by country and refrigerant.
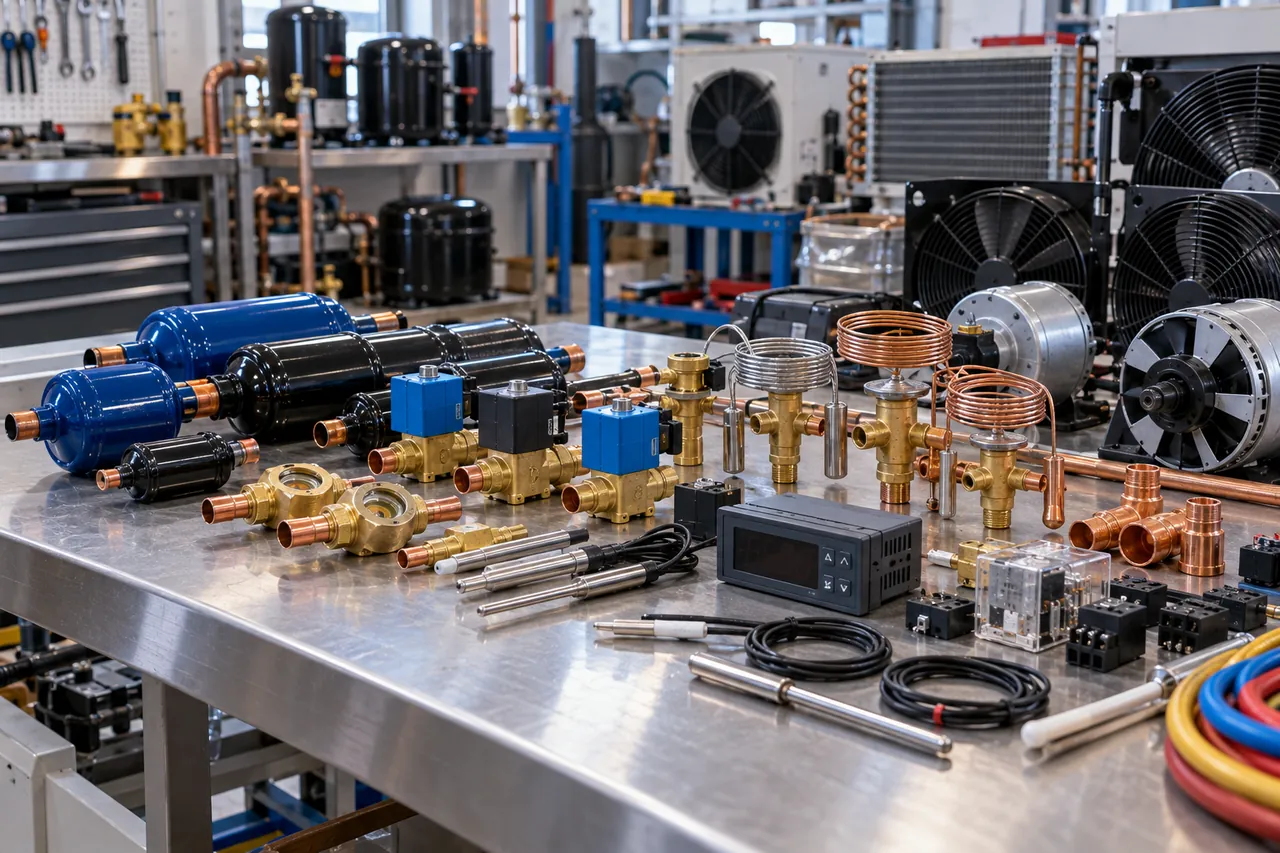
Car AC expansion valve and orifice tube replacement is a vehicle workshop job with its own pricing; the principles are the same, but automotive systems pair a block TXV with a receiver-drier, or an orifice tube with an accumulator. See our vehicle AC troubleshooting guide. For a list of other valves and controls in commercial systems, see commercial refrigeration parts and components.
How to choose and specify a TXV: checklist
- Match the refrigerant exactly; valves are built for a specific refrigerant.
- Size the valve to the evaporator capacity at design evaporating temperature and the actual pressure drop across the valve; avoid large oversizing, which causes hunting.
- Choose an external equaliser for any evaporator with a distributor or significant pressure drop.
- Select the bulb charge and MOP to suit the application, especially for freezers.
- Specify connections (flare or brazed) and an inlet strainer.
- Plan bulb location on a horizontal suction line, clamped and insulated.
- Consider an EEV for variable-load systems, floating head pressure or CO2.
- Record superheat at commissioning; our cold room load calculator helps confirm the evaporator capacity you are feeding.
Be There supplies complete walk-in cooler and freezer kits with the condensing unit, evaporator and a matched expansion valve sized for the room's refrigerant and temperature, plus truck refrigeration units with factory-set metering. Send your room size, temperature, refrigerant preference and climate through the inquiry form and we will quote FOB, CIF or DDP.