





Short answer
To install foam board insulation, cut boards to fit tightly, fix them with foam-safe adhesive on concrete or cap fasteners reaching 25 mm (1 in) into framing at about 300 mm (12 in) spacing on edges, stagger joints, tape every seam with sheathing or foil tape, fill gaps over 3 mm with low-expansion foam, then cover indoor foam with 12.7 mm (½ in) gypsum.
Key takeaways
- Score and snap cuts foam board up to about 50 mm (2 in) thick; use a fine saw or hot wire for thicker polystyrene.
- Mechanical fasteners should penetrate at least 25 mm (1 in) into wood framing, spaced about 300 mm at edges and 400–600 mm in the field.
- Solvent-based adhesives and paints dissolve EPS and XPS; use products labelled safe for foam.
- Tape every seam: acrylic sheathing tape for XPS and EPS, aluminium foil tape for foil-faced PIR; foam gaps over 3 mm first.
- Under slabs use 250–300 kPa XPS for light loads and 500–700 kPa for forklift-trafficked freezer floors, in two staggered layers.
- Foam inside buildings must be covered by a thermal barrier such as 12.7 mm (½ in) gypsum board; paint is not a fire barrier.
How do you install foam board insulation?
To install foam board insulation, prepare a clean, dry, flat surface, cut boards to fit tightly, fix them with foam-compatible adhesive and/or cap fasteners, stagger the joints, tape every seam, fill gaps with low-expansion foam, and cover the foam with a code-approved finish or thermal barrier. The same sequence applies to walls, ceilings, floors and roofs; only the fixing method and the covering change.
Rigid board performs well only if it is continuous and airtight. A 3 mm (⅛ in) gap around every board lets air move behind the insulation and can cost a noticeable share of its rated R-value, and in cold rooms or basements it becomes a condensation line. This guide gives the practical steps. If you are still choosing the board, see our foam board insulation guide and EPS vs XPS comparison first.
Tools and materials
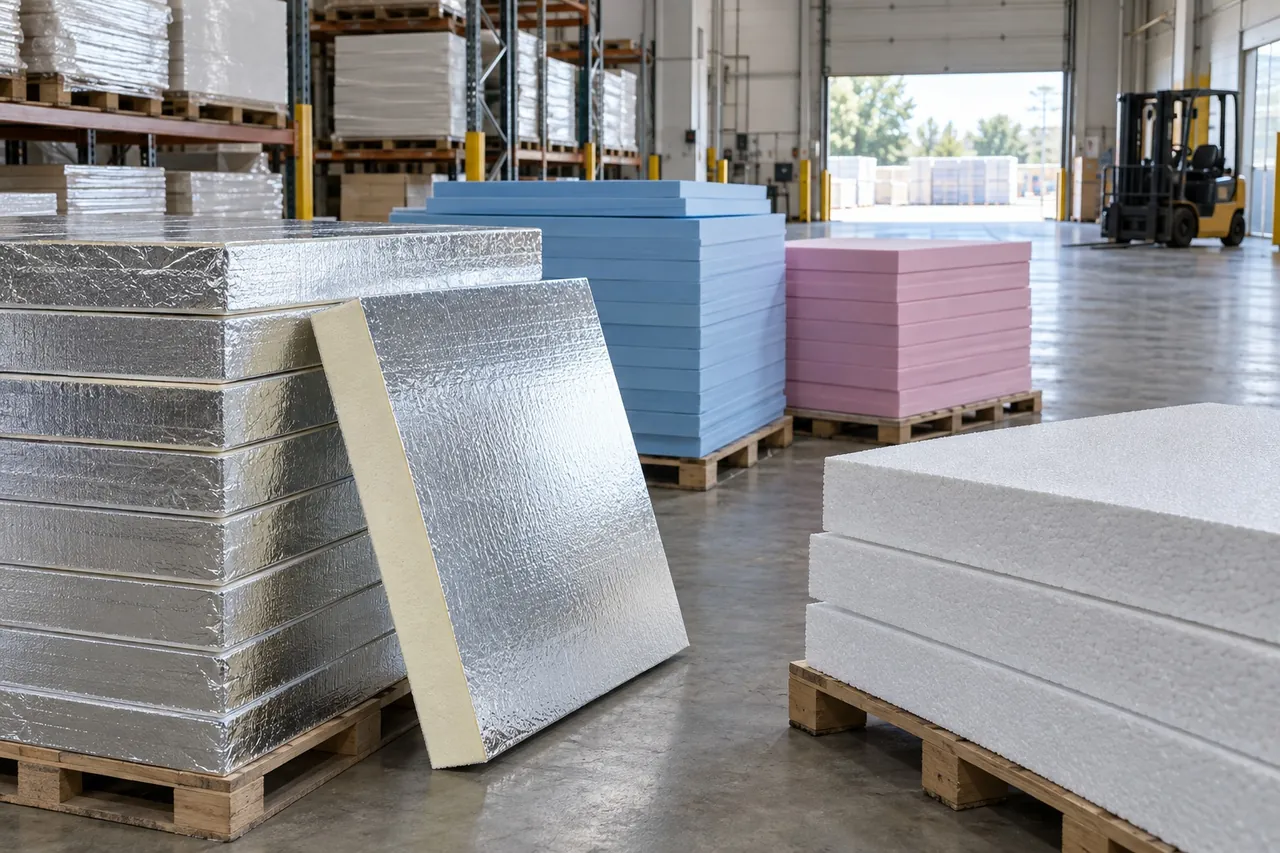
- Foam board: XPS for below grade and floors, PIR/polyiso for walls and roofs where space is tight, EPS for budget walls.
- Long straightedge, tape measure, utility knife with snap-off blades, fine-tooth handsaw or insulation saw.
- Foam-compatible construction adhesive (solvent-free or labelled safe for polystyrene) or low-expansion polyurethane foam adhesive.
- Foam board fasteners: plastic cap nails, screws with 50–75 mm (2–3 in) washers, or masonry insulation anchors.
- Foam board tape: acrylic sheathing tape for XPS and EPS, aluminium foil tape for foil-faced PIR.
- Low-expansion spray foam for gaps, a caulking gun, a J-roller or squeegee for tape, gloves and eye protection.
How do you cut foam board cleanly?
Score and snap is the fastest way to cut foam board up to about 50 mm (2 in) thick: mark the line, run a sharp utility knife along a straightedge cutting about halfway through, then bend the board over a table edge until it snaps and trim the facing on the other side.
- Thicker boards: use a fine-tooth handsaw, an insulation saw with a long wavy blade, or a circular saw with a fine blade set just deeper than the board.
- EPS and XPS: a hot-wire cutter gives a clean, dust-free edge; work in a ventilated space.
- PIR/polyiso: cut with a saw or knife; do not hot-wire, as PIR is a thermoset and chars rather than melts.
- Cut boards 1–2 mm oversize for friction-fit between framing so they squeeze in tightly.
- Change blades often. A blunt blade tears foam and leaves ragged edges that will not butt tightly.
How do you attach foam board insulation?
You attach foam board insulation with adhesive, mechanical fasteners, or both. Adhesive holds board flat against masonry and concrete; mechanical fasteners hold it against wood or steel framing and are essential where cladding, wind or gravity will load the board.
| Substrate | Primary fixing | Fastener type | Typical spacing |
|---|---|---|---|
| Wood studs or sheathing (exterior) | Mechanical | Plastic cap nails or cap screws, 25 mm (1 in) minimum into framing | About 300 mm (12 in) at edges, 400–600 mm (16–24 in) in the field |
| Steel studs | Mechanical | Self-drilling screws with 50 mm (2 in) washers | As above, into stud flanges |
| Poured concrete or block (interior basement) | Adhesive plus anchors | Foam-safe adhesive in vertical ribbons; plastic hammer-in insulation anchors | Adhesive ribbons every 300–400 mm; 4–6 anchors per 1200 × 2400 mm board |
| Concrete (exterior below grade) | Adhesive, held by backfill | Foam-safe adhesive dabs | Enough to hold the board until backfilled |
| Ceiling joists | Mechanical | Cap screws through board, then furring strips | About 300 mm (12 in) along each joist |
| Roof deck (low-slope) | Mechanical or adhered | Roofing screws with 75 mm (3 in) plates, or approved roof adhesive | Per roofing system wind-uplift pattern |
Fastener length
Choose rigid insulation fasteners long enough to pass through the foam and any sheathing and still bite 25 mm (1 in) into wood framing, or 25–40 mm into concrete for anchors. For example, 2 inch foam board fasteners into wood studs over 12 mm sheathing need to be about 90 mm (3½ in) long. Never overdrive: the cap or washer should sit flush and not crush the foam.
Adhesive
Solvent-based adhesives dissolve polystyrene. Use adhesive labelled for foam board, apply it in vertical ribbons rather than a continuous perimeter so moisture can drain, press the board in place and hold or brace it until the adhesive grabs. Read the adhesive's temperature range; most need at least 5 °C (40 °F).
How do you install foam board insulation on interior walls?
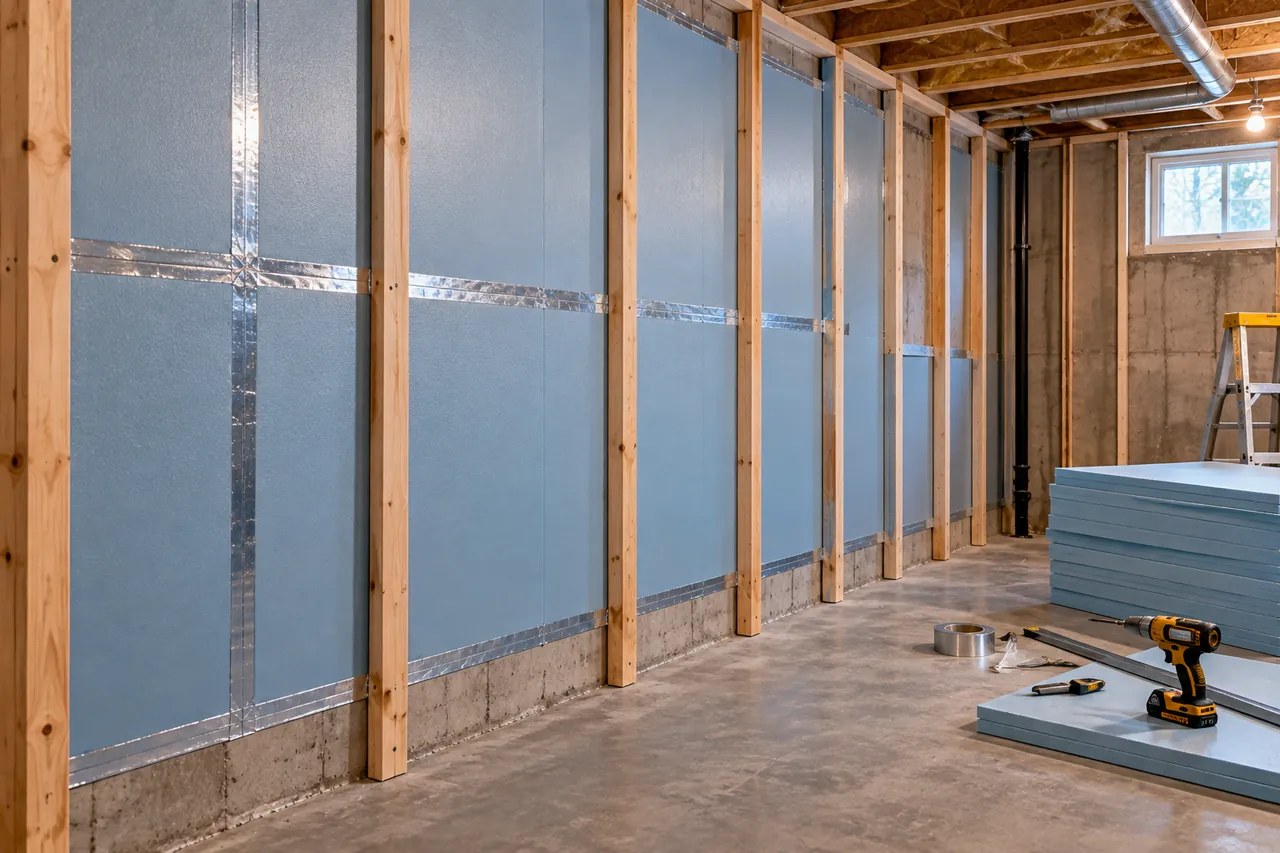
To install foam board insulation on interior walls, usually basement or masonry walls, glue XPS or PIR boards directly to the dry concrete, tape the seams to form an air and vapour control layer, then build a stud or furring wall in front and finish with gypsum board, which acts as the fire-protective thermal barrier.
- Fix water problems first: gutters, grading, cracks. Foam will not stop liquid water coming through a wall.
- Clean the wall; remove efflorescence, paint flakes and loose mortar so adhesive bonds.
- Start at a corner. Apply adhesive ribbons, press the first board with its long edge vertical, and check plumb.
- Butt each next board tightly; stagger horizontal joints if using two layers or cut pieces.
- Add plastic insulation anchors through the board into the concrete where boards will carry furring or shelving.
- Tape every seam with foam board tape and seal the top and bottom edges to the rim joist and slab with spray foam or sealant.
- Fix 19 × 64 mm (1×3 in) furring strips with concrete screws through the foam, or build a 2×3 or 2×4 stud wall 10–15 mm in front.
- Run any wiring in the furring or stud space, not by cutting deep channels in the foam.
- Cover with 12.7 mm (½ in) gypsum board or another approved thermal barrier.
With taped XPS or foil-faced PIR against the concrete, do not add polyethylene sheet on the room side of the stud wall; it would trap moisture between two vapour barriers. For details of thickness by climate and foundation type, see the basement and foundation insulation guide.
Installing rigid foam insulation in existing walls
For existing framed walls without opening them, foam board is not practical; injected foam or dense-pack fibre is used instead. If the wall is opened, cut foam to friction-fit between studs and seal the edges with spray foam, or better, add a continuous layer of board over the inside face of the studs before the new plasterboard, which also cuts thermal bridging through the framing.
How do you install foam board insulation on exterior walls?
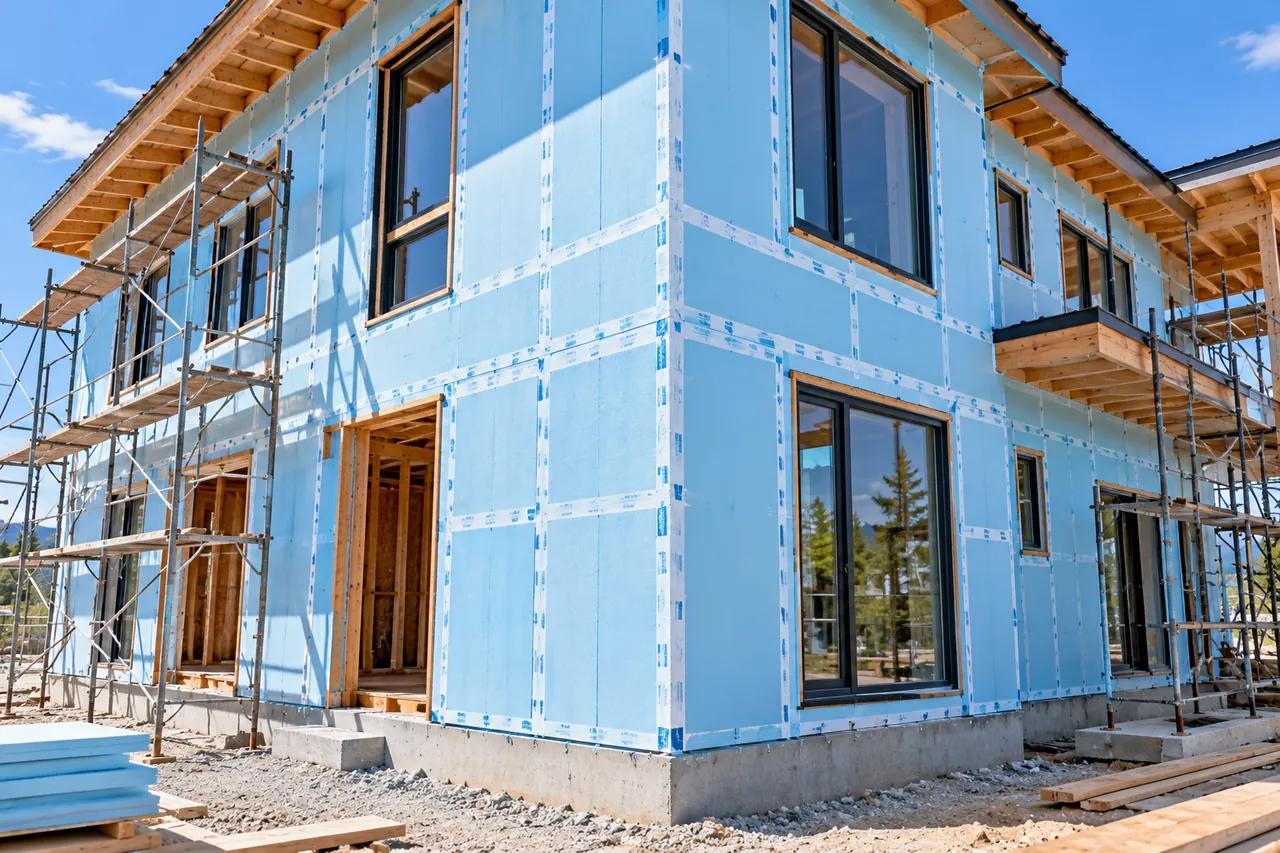
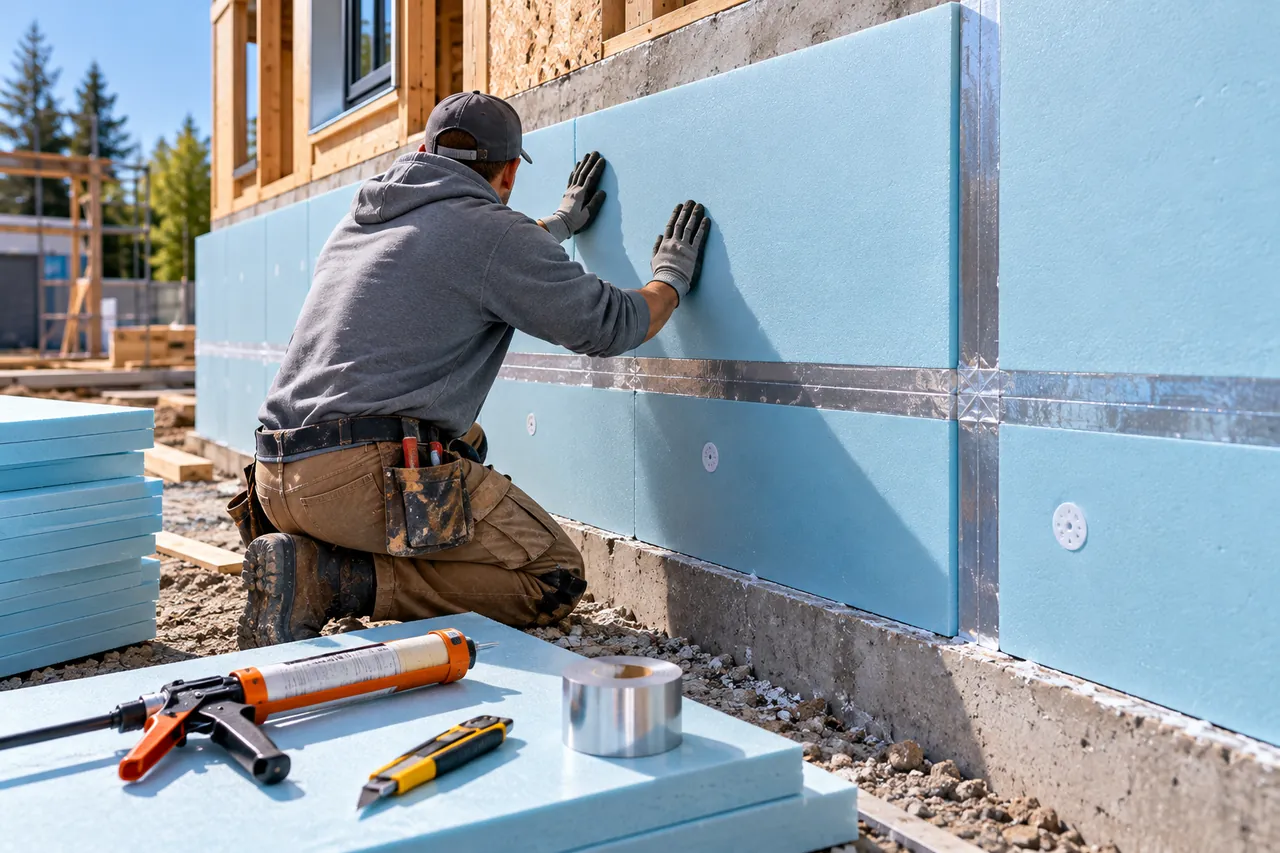
To install foam board insulation on exterior walls, fix boards over the sheathing as a continuous layer with cap fasteners, tape the seams and flash the openings so the foam or a separate membrane drains water, then fix cladding through furring strips into the studs. Exterior foam stops thermal bridging and keeps the sheathing warm.
- Decide where the water-resistive barrier (WRB) goes: either a building wrap on the sheathing behind the foam, or taped foam itself as the WRB if the board is approved for that use.
- Install a starter strip or base flashing at the bottom edge, with insect mesh if using a ventilated cavity.
- Fix the first course level, long edge horizontal or vertical as the maker specifies, with cap fasteners at the spacing in the table above.
- Stagger vertical joints by at least 300 mm (12 in) and avoid joints lining up with sheathing joints. For two layers, offset the second layer in both directions.
- Tape all seams with approved sheathing tape, lapping shingle-fashion so water runs over, not into, joints.
- Extend window and door rough openings with timber bucks or flashing to the outer face of the foam, and flash heads, sills and jambs into the WRB plane.
- Fix vertical furring strips through the foam into the studs to create a 19 mm (¾ in) drainage gap, then attach cladding to the furring.
Fastener sizing for cladding through thick foam is set out in codes such as the International Residential Code; for foam over about 38 mm (1½ in), follow the code tables or engineering for screw size and spacing. Our guide to continuous exterior insulation covers thickness by climate zone, dew-point control and cladding details in depth.
How do you install foam board insulation on a ceiling?
To install foam board insulation on a ceiling, screw the boards to the underside of the joists or rafters with cap screws, tape the seams, then fix furring strips through the foam into the joists and attach the ceiling board to the furring. Adhesive alone will not hold board overhead.
- Work with two people or use a board lift; a 1200 × 2400 mm sheet is light but floppy overhead.
- Run boards across the joists so each sheet is fixed to at least three or four joists.
- For foil-faced PIR, face the foil towards a 19–25 mm air gap formed by the furring to gain a small radiant benefit.
- In unvented roof assemblies, foam above or below the rafters must be thick enough to keep the condensing surface above dew point; check the code requirement for your climate before relying on board inside the rafters.
For low-slope and flat roofs, where boards go on top of the deck under the waterproofing, see flat roof insulation.
How do you install foam board under a floor or slab?
Under a new concrete slab, lay XPS boards on a compacted, levelled base, stagger and tape the joints, cover with a polyethylene slip and vapour layer, then pour the slab. Under freezer rooms, two staggered layers of high-strength XPS are standard.
- Compact the subgrade and screed 25–50 mm of sand or fine gravel so the boards bed flat with no rocking. Foam bridging over a high spot will crack under load.
- Lay the first layer with tight joints; for tongue-and-groove XPS, push the edges fully home.
- Lay the second layer with joints offset by half a board in both directions.
- Turn boards up at the perimeter as an edge strip to stop heat flow at the slab edge.
- Lay 0.15–0.25 mm (6–10 mil) polyethylene over the foam, lapped 150 mm and taped.
- Protect the board from point loads during the pour with walk boards and rebar chairs on spreader plates.
Pick compressive strength for the load: about 250–300 kPa (36–44 psi) under a domestic or light commercial slab, 500–700 kPa (73–100 psi) under forklift-trafficked freezer floors. Thickness and frost-heave protection for cold rooms are covered in under-slab insulation for walk-in cooler and freezer floors. For suspended timber floors, cut boards to friction-fit between joists and support them on battens or clips.
Which foam board tape should you use?
Use the tape the board maker specifies: acrylic-adhesive sheathing tape 48–75 mm (2–3 in) wide for XPS and EPS, and aluminium foil tape for foil-faced PIR and polyiso. The tape turns separate boards into a continuous air barrier, so it must bond permanently.
| Tape | Use on | Width | Notes |
|---|---|---|---|
| Acrylic sheathing tape (foam board insulation tape) | XPS, EPS, building wrap | 48–75 mm (2–3 in) | Good at low temperatures; UV-stable for weeks, not years |
| Aluminium foil tape | Foil-faced PIR/polyiso | 48–75 mm (2–3 in) | Matches the facing; keeps a continuous vapour barrier |
| Butyl flashing tape | Window and door openings, penetrations | 75–150 mm (3–6 in) | Thick, conformable; check it is compatible with the foam |
| Duct tape or packing tape | Not recommended | - | Loses adhesion in heat and cold; fails within months |
Apply tape to clean, dry, frost-free board, centred on the joint, and press it down hard with a roller or squeegee. Fill gaps wider than about 3 mm with low-expansion spray foam first, let it cure, trim flush, then tape. "Foam insulation tape" can also mean the self-adhesive foam weatherstrip used around doors; it is useful for sealing door and hatch perimeters, not board seams.
Can you paint foam board insulation?
Yes, you can paint foam board insulation with water-based acrylic or latex paint, but paint is decoration only: it does not protect foam from fire and does not replace the gypsum or other thermal barrier that codes require indoors.
- Never use solvent-based or aerosol paints on EPS or XPS; they dissolve polystyrene.
- Lightly sand or wipe the board, apply a water-based primer, then one or two coats of exterior acrylic for outdoor exposed edges.
- Above-grade foundation foam needs a durable protective coating, cementitious board or metal flashing against UV, impact and pests, not just paint.
- Some intumescent coatings are approved as alternative barriers for specific foams in limited areas such as attics and crawl spaces; check the listing for the exact foam and use.
Most foam boards should not be left exposed to sunlight for more than a few weeks to a few months; check the maker's limit and cover exposed foam promptly.
Foam board installation checklist
Before you call the job finished, check each point:
- Board type matches location: XPS below grade and under floors, PIR where thin and high R is needed, EPS where dry and budget-driven.
- Surface was dry, clean and flat; water problems were fixed first.
- Boards are tight-butted, joints staggered, and two-layer installs offset in both directions.
- Fasteners reach 25 mm into framing; caps sit flush without crushing foam.
- Every seam is taped with the correct tape and gaps over 3 mm are foamed.
- Openings and penetrations are flashed and sealed.
- Indoor foam is covered by a thermal barrier such as 12.7 mm gypsum; outdoor foam is protected from UV.
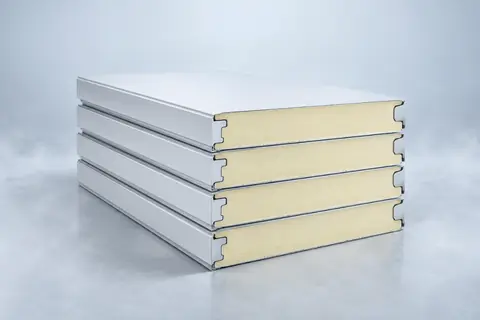
Be There supplies XPS foam board at 150–700 kPa with square, shiplap or tongue-and-groove edges, and PIR and PU insulation boards from 20 to 200 mm with foil, kraft or glass-tissue facings in 1200 × 2400 mm and 1200 × 600 mm. For a cold room, our PU/PIR sandwich panels lock together with cam-locks and need no site taping. Send the area, thickness and application through the inquiry form and we will quote FOB, CIF or DDP.