
Short answer
To calibrate a thermometer, place its probe at least 5 cm (2 in) deep in a slush of crushed ice and water, wait about 3 minutes, and check that it reads 0 °C (32 °F). Adjust the dial nut or reset a digital unit if it is off. Food thermometers must be accurate to ±1 °C (±2 °F); check them at least weekly and after any drop.
Key takeaways
- The ice point method of thermometer calibration should read 0 °C (32 °F) at any altitude.
- Water boils at 100 °C (212 °F) at sea level and about 1 °C lower per 300 m of altitude.
- The FDA Food Code requires food thermometers accurate to ±1 °C (±2 °F) and holding-unit air thermometers to ±1.5 °C (±3 °F).
- Check food probes at least weekly, daily in busy kitchens, and always after a drop or extreme temperature change.
- Check data loggers and cold room sensors every 6–12 months against a certified reference thermometer.
- Replace any thermometer that cannot be adjusted back within its tolerance.
What does it mean to calibrate a thermometer?
To calibrate a thermometer means to check its reading against a known reference temperature and, if it is off, adjust it or record the correction so it reads accurately. In food service the reference is usually melting ice at 0 °C (32 °F) or boiling water at 100 °C (212 °F) at sea level; in laboratories and pharma it is a reference thermometer with a traceable certificate.
Strictly, calibration means comparing against a reference and documenting the error, and adjustment means correcting it. In kitchens the two words are used together: you check in ice water and turn the calibration nut until the dial reads 0 °C. Either way, the rule food safety courses teach is the same: for thermometers to read temperatures correctly, they must be calibrated, and the check must be recorded.
This guide covers the procedures. For choosing a probe in the first place, see our food temperature probe guide and our overview of types of thermometers for food service.
How accurate does a food thermometer need to be?
Under the FDA Food Code, thermometers used to measure food temperature must be accurate to ±1 °C (±2 °F), and thermometers measuring air or water temperature in cold or hot holding equipment must be accurate to ±1.5 °C (±3 °F). Pharmaceutical and vaccine storage asks for tighter accuracy.
| Device | Required or recommended accuracy | Source / practice |
|---|---|---|
| Food probe thermometer (Celsius scale) | ±1 °C | FDA Food Code |
| Food probe thermometer (Fahrenheit scale) | ±2 °F | FDA Food Code |
| Fridge, freezer or cold room air thermometer | ±1.5 °C (±3 °F) | FDA Food Code |
| Vaccine storage digital data logger | ±0.5 °C (±1 °F) | CDC vaccine storage guidance |
| Frozen food storage and transport recorders | Per EN 12830 accuracy class | EU quick-frozen food rules |
| Reference thermometer for in-house checks | ±0.1–0.2 °C, certified | Good practice |
Thermometer accuracy is not the same as resolution. A digital thermometer that displays 0.1 °C steps may still be ±1 °C accurate. Check the specification sheet, and remember that digital thermometer accuracy often gets worse at the ends of its range, for example below −20 °C or above +150 °C.
How do you calibrate a thermometer with ice? (Ice point method)
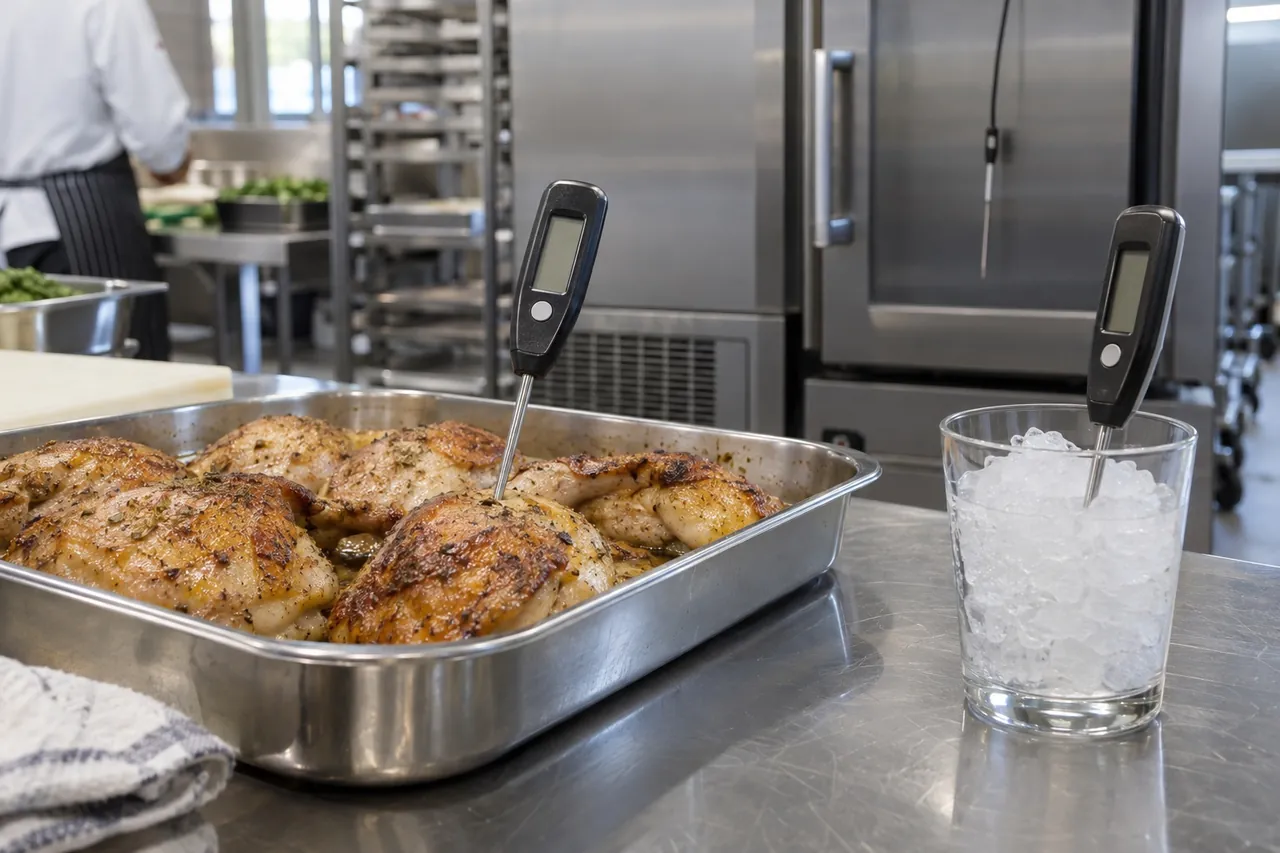
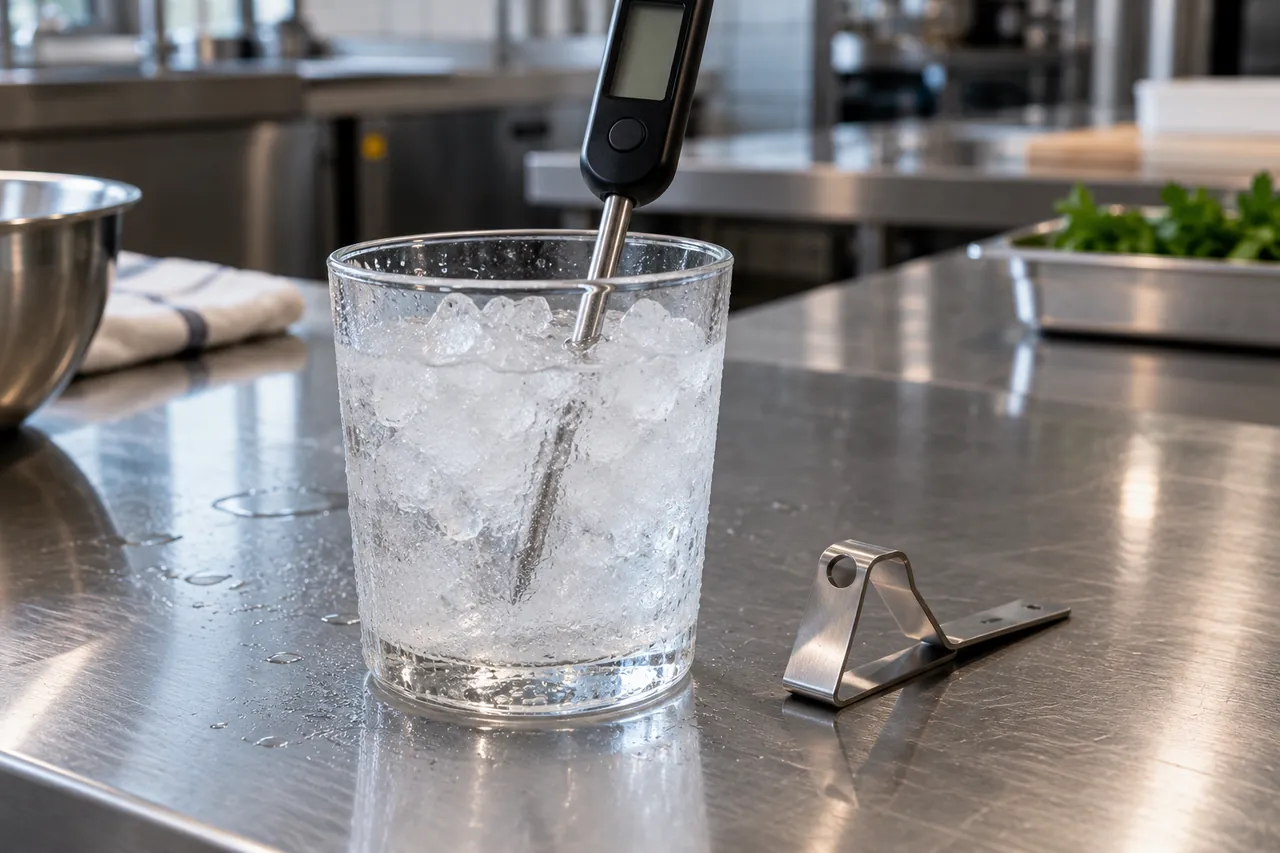
The ice point method is the most effective everyday way to calibrate a thermometer: put the probe in a slush of crushed ice and water, wait for the reading to settle, and check that it reads 0 °C (32 °F). The ice point method of thermometer calibration should read 32 °F (0 °C), regardless of altitude.
- Fill a tall glass or insulated cup to the top with crushed ice or small cubes. Crushed ice is better than large cubes, which leave warm pockets of water.
- Add clean, cold tap water until it is just below the top of the ice; there should be more ice than water.
- Stir and let it stand for about 3 minutes so the mixture reaches 0 °C throughout.
- Insert the probe at least 5 cm (2 in) into the centre of the slush, or past the dimple on a dial thermometer, without touching the bottom or sides of the glass.
- Stir gently and wait until the reading stops moving: about 30 seconds for a digital thermometer, longer for a dial.
- Read it. It should show 0 °C (32 °F) within the thermometer's tolerance.
- If it does not, adjust: on a bimetallic dial thermometer, hold the calibration nut under the head with a wrench or the sheath clip and turn the dial until it reads 0 °C; on a digital thermometer, use its reset or calibration function if it has one.
- Record the date, thermometer ID, reading, adjustment and your initials in the calibration log.
The same method works for temperature probe calibration of fridge and freezer probes, data loggers and wireless sensors: put the probe tip in the slush and compare. If a sensor cannot be adjusted, record the offset, and replace it if the error exceeds its required tolerance.
How do you calibrate a thermometer in boiling water?
The boiling point method checks a thermometer in rapidly boiling water, which is 100 °C (212 °F) at sea level but lower at altitude, so you must know your local boiling point. It is useful for thermometers used for hot holding and cooking, but less precise than the ice point.
- Bring at least 15 cm (6 in) of clean water to a full, rolling boil in a deep pan.
- Insert the probe at least 5 cm (2 in) into the water, away from the bottom and sides of the pan, and avoid the steam heating the thermometer head.
- Wait until the reading is steady.
- Compare it with the boiling point for your altitude in the table below and adjust or record the offset.
| Altitude | Boiling point of water (approx.) |
|---|---|
| Sea level | 100 °C (212 °F) |
| 300 m (1,000 ft) | 99 °C (210 °F) |
| 600 m (2,000 ft) | 98 °C (208 °F) |
| 1,000 m (3,300 ft) | 96.7 °C (206 °F) |
| 1,500 m (4,900 ft) | 95 °C (203 °F) |
| 2,000 m (6,600 ft) | 93.4 °C (200 °F) |
| 3,000 m (9,800 ft) | 90 °C (194 °F) |
As a rule of thumb, water boils about 1 °C lower for every 300 m (1 °F lower for every 500 ft) of altitude. Weather also shifts it by a few tenths of a degree, so the boiling point method is a check, not a precise calibration.
Ice point vs boiling point: which is better?
The two methods most food safety courses teach are the ice point method and the boiling point method. The ice point is preferred because it does not change with altitude, is easy to make accurately and is close to the cold-holding temperatures that matter most. Use the boiling point as a second check for thermometers used mainly above 60 °C (140 °F).
How do you calibrate a digital or meat thermometer?
To calibrate a digital thermometer, test it in an ice slush; if it reads more than its tolerance away from 0 °C (32 °F), use the reset or calibration button if it has one, or otherwise record the offset or replace it. Many cheap digital thermometers cannot be adjusted.
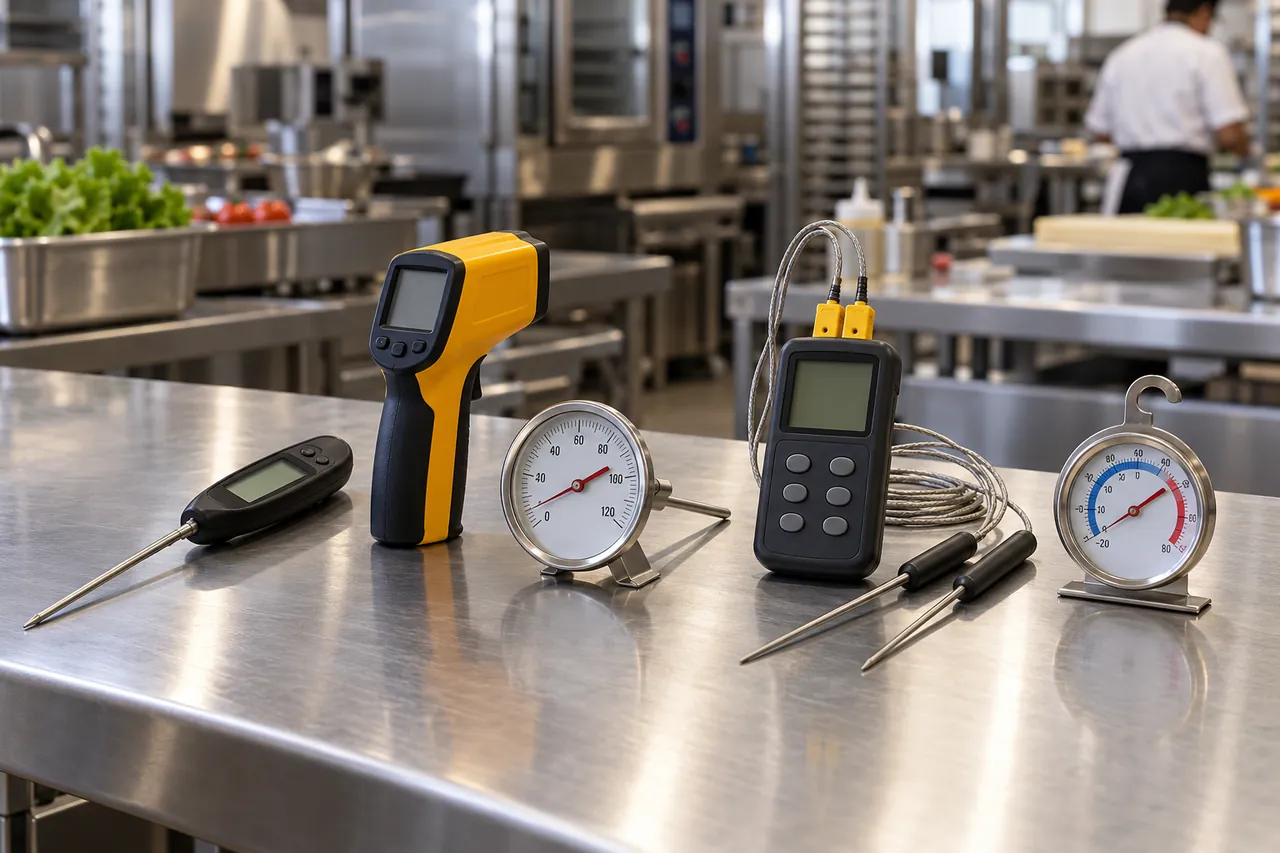
- Digital instant-read thermometer: hold the reset or "CAL" button while in the slush (check the manual), or replace the battery first if readings drift, because a weak battery causes errors.
- Bimetallic dial meat thermometer: adjust the hex nut under the dial while the stem is in ice water.
- Thermocouple thermometer: the meter and probe are usually checked together; some meters allow offset adjustment per probe.
- Infrared thermometer: aim at the surface of a well-stirred ice slush (not the side of the glass) from close range; the reading should be about 0 °C. Infrared units are often non-adjustable.
- Leave-in and wireless meat thermometers: test each probe separately in slush; replace a probe whose error is beyond ±1 °C (±2 °F).
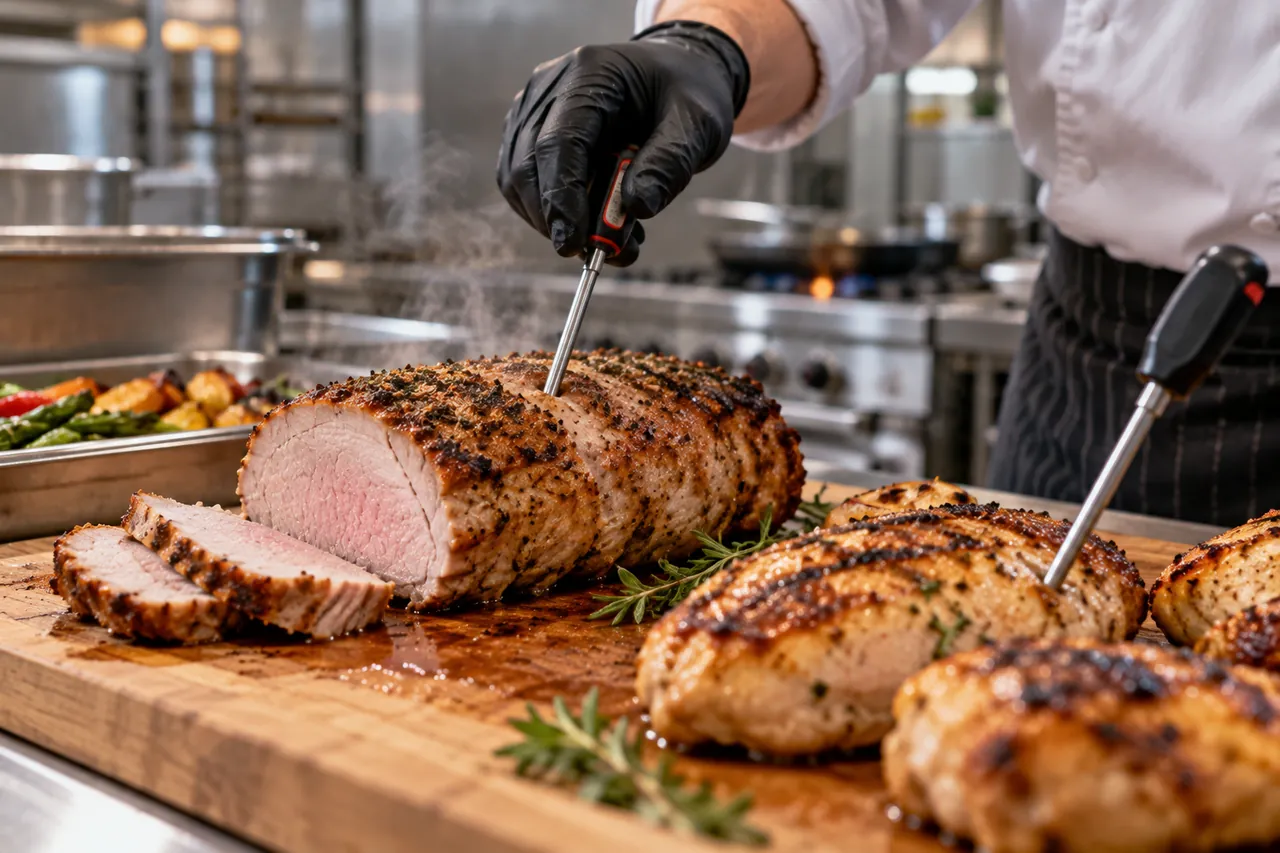
If you need to calibrate a meat thermometer for safe cooking of poultry to 74 °C (165 °F), a 2 °C error matters: a thermometer reading 2 °C high could pass undercooked chicken. Our safe internal cooking temperatures chart lists the temperatures your thermometer must measure reliably.
How often should thermometers be calibrated?
For food safety, check thermometers at least once a week, daily or every shift when they are used heavily, and always after they are dropped, after a big temperature change (such as moving from a freezer to a fryer), and when they are new. The FDA Food Code does not set a fixed interval, so your HACCP plan should state one.
| Device | Quick check (ice point or comparison) | Certified calibration |
|---|---|---|
| Kitchen probe thermometers | Weekly, or daily/every shift in busy kitchens | Replace or certify every 1–2 years |
| Dial bimetallic thermometers | Weekly and after any drop | Replace when they cannot hold calibration |
| Fridge, freezer and cold room thermometers | Monthly to quarterly | Annually for loggers used as records |
| Data loggers and wireless sensors | Every 6–12 months against a reference | Annually, traceable certificate |
| Vaccine and pharma monitoring devices | As per SOP | Per certificate validity, commonly 1–2 years |
| Reference thermometer | Ice point before each use | Annually by an accredited calibration service |
What are the comparison method and professional calibration services?
The comparison method checks a thermometer against a certified reference thermometer at the temperature where it is actually used, for example inside a −20 °C freezer or a +3 °C cold room, which is more realistic than the ice point for freezer probes.
- Place the reference probe and the probe being tested side by side, tips touching or in the same glycol bottle.
- Wait 15–30 minutes for both to stabilise.
- Record both readings; the difference is the error of the tested device.
- Adjust the controller or logger offset if allowed, or replace the sensor if the error exceeds tolerance.
Professional calibration services use dry-block calibrators and liquid baths at several points, for example −20 °C, 0 °C and +40 °C, and issue a certificate traceable to a national standard. Choose a calibration provider accredited to ISO/IEC 17025 when your customer, auditor or regulator needs traceable certificates, such as for pharmaceutical storage under EU GDP. Calibrated reference thermometers are also the basis for temperature mapping and for checking temperature data loggers.
Thermometer calibration checklist for food businesses
A workable calibration programme needs a written method, a fixed frequency, a log and a rule for when to replace a thermometer.
- Give every thermometer, probe and sensor an ID number.
- Use the ice point method weekly for all food probes, and after drops or extreme temperature changes.
- Use the comparison method every 6–12 months for fridge, freezer and cold room sensors and loggers.
- Keep one certified reference thermometer, recalibrated annually.
- Replace any thermometer that is outside ±1 °C (±2 °F) for food or ±1.5 °C (±3 °F) for air and cannot be adjusted.
- Record date, ID, reference value, reading, action and initials; keep logs with your HACCP records.
- Clean and sanitise probes before and after each use, and before calibrating.
Accurate thermometers only help if the equipment holds temperature. Be There supplies walk-in cold rooms and blast chillers with core probes, each with a digital controller whose probe offset can be adjusted after a comparison check. Send your cold room or blast chiller requirements through the inquiry form and we will quote FOB, CIF or DDP.