


Short answer
A DIY walk-in cooler can be built three ways: assembling a prefabricated panel kit with a matched refrigeration unit, framing a stud-wall room lined with rigid foam and fitting a refrigeration unit, or cooling a small insulated room with a window air conditioner and an override controller. Only the panel kit reliably holds +2 °C (36 °F) for commercial food storage.
Key takeaways
- A walk-in cooler kit of 75–100 mm PU or PIR panels with cam-locks can typically be assembled by two people in one to two days for a small room.
- US rules for manufactured walk-ins require at least R-25 walls and ceilings for coolers and R-32 for freezers, about 100 mm and 125–150 mm of PU/PIR.
- The air conditioner method works only for small coolers at about +2 °C to +4 °C (36–39 °F) and is not suitable for freezers.
- Fiberglass batts in a stud wall absorb moisture and lose insulating value in a cooler; use closed-cell rigid foam with a sealed vapour barrier.
- The door is the hardest part to build well; buying a prefabricated insulated door solves most DIY walk-in cooler problems.
Can you build a DIY walk-in cooler?
Yes. A DIY walk-in cooler is an insulated room you assemble yourself and cool with a refrigeration unit or, for small rooms, an adapted air conditioner. The three common routes differ in how cold they get, how long they last and whether a food inspector will accept them.
| Route | Practical lowest temperature | Insulation | DIY difficulty | Best for |
|---|---|---|---|---|
| Panel kit + matched refrigeration | 0 °C cooler; −25 °C with freezer panels | 75–200 mm PU/PIR panels, factory-sealed | Low–medium (refrigeration hook-up by a technician) | Restaurants, shops, breweries, farms |
| Stud wall + rigid foam + refrigeration unit | +1 °C to +4 °C | Layered rigid foam boards, site-sealed | High | Odd-shaped rooms, conversions of existing rooms |
| Stud wall + air conditioner + override controller | About +2 °C to +4 °C | Rigid foam, site-sealed | Medium | Small farm, hobby or residential coolers |
A DIY cooler built from a walk-in cooler kit is the closest to a professionally built room, because the panels, door and refrigeration are designed to work together. For the full build sequence, see our guide on how to build a walk-in cold room.
How to make a room cold enough to store food
Turning a room into a cooler is a heat-balance problem. Heat enters through the walls, ceiling and floor, with air at every door opening, and in warm product. The cooling unit must remove all of it, and the less you let in, the smaller and cheaper the unit can be. To make a room cold and keep it cold:
- Insulate every surface, including the ceiling and, ideally, the floor. A continuous R-25 (about 100 mm of PU/PIR) is a sensible minimum for a cooler.
- Make it airtight. Air leaks carry moisture that turns to ice on the coil and to mould in the walls.
- Put a vapour barrier on the warm side. In a cooler, moisture moves from the warm outside towards the cold inside; metal-faced panels do this automatically.
- Fit a proper cooler door with a full perimeter gasket and a self-closer.
- Size the cooling from the calculated load, not from room area alone.
An ordinary air conditioner is designed to hold a room at about 16–25 °C (60–77 °F). Its thermostat and coil will not go much lower without help, which is why simply turning the AC down does not make a cold room. For food at +1 °C to +5 °C (34–41 °F) you need a refrigeration unit, or an AC fitted with an override controller in a small, very well-insulated room. Estimate the load with our cold room calculator.
Walk-in cooler kit: the most reliable DIY route
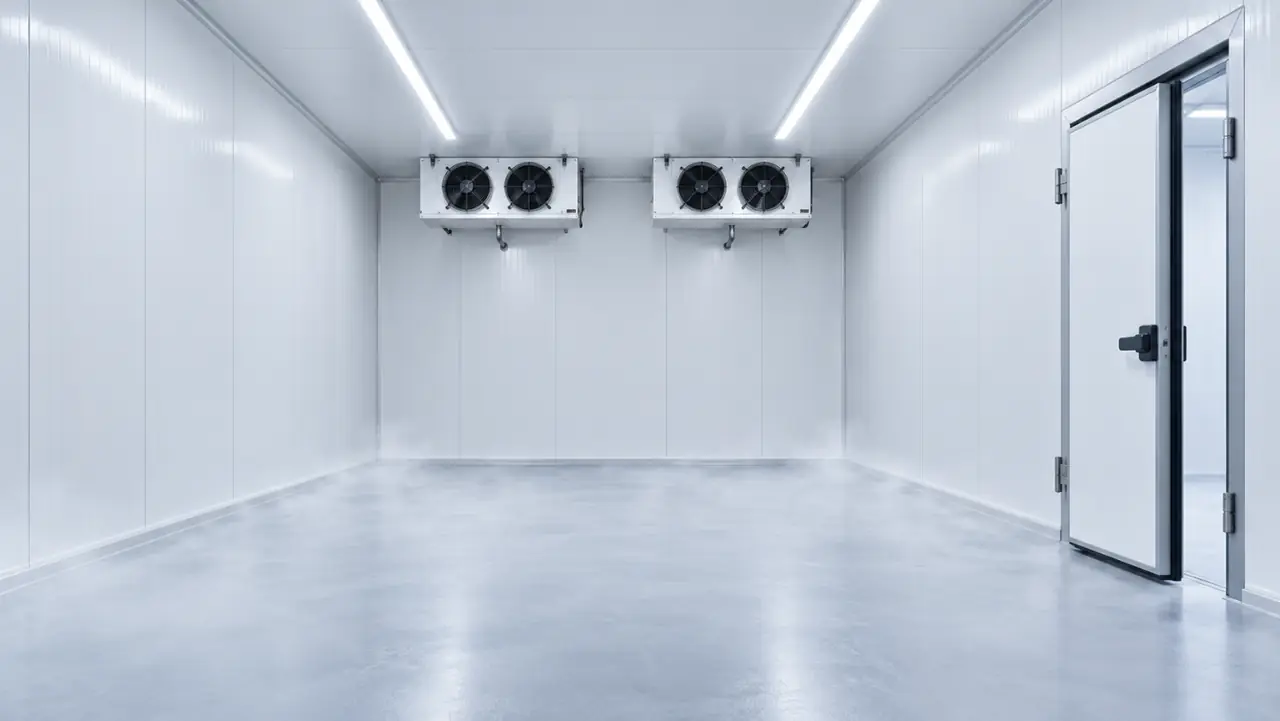
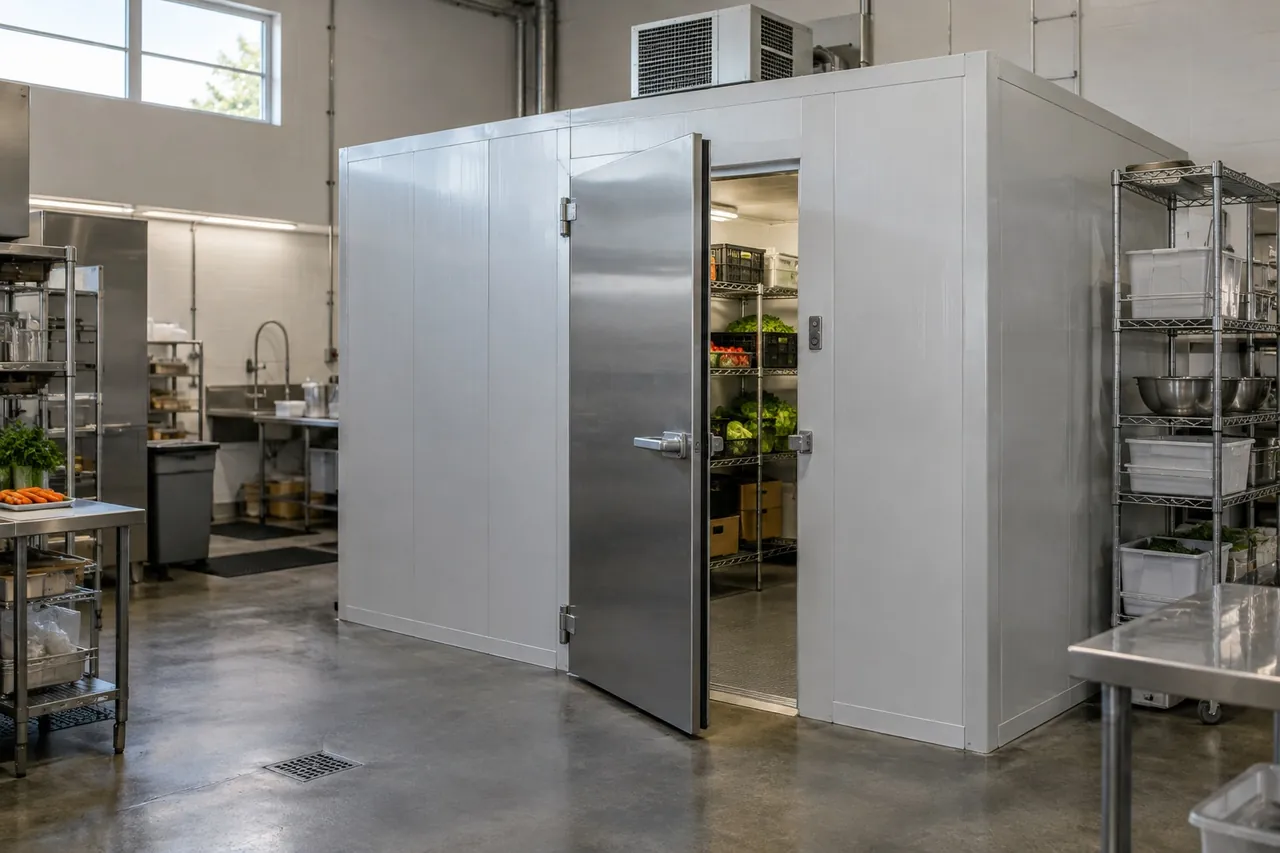
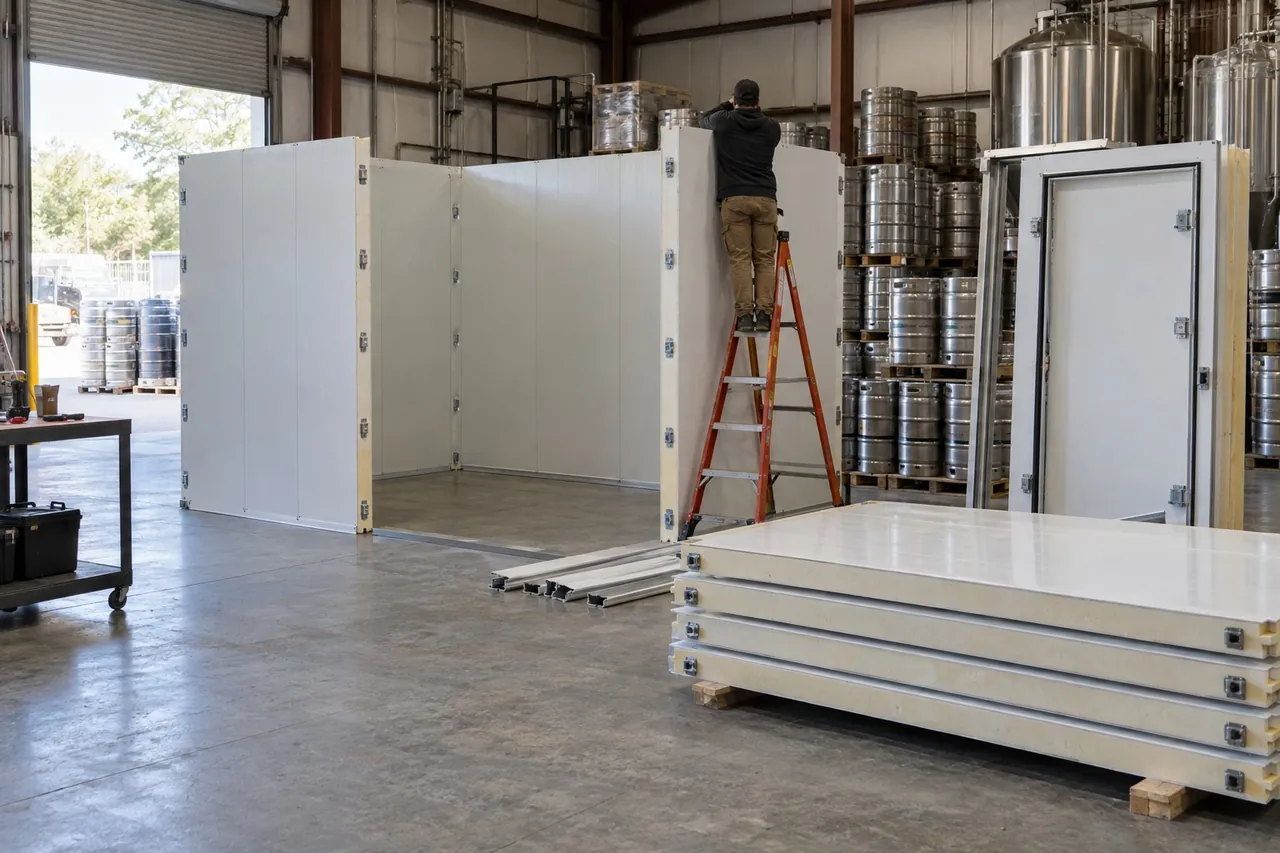
A walk-in cooler kit is a set of factory-made insulated sandwich panels, cut to your room size, with a door, fixings and usually the refrigeration system. Panels are typically 950 or 1150 mm wide with cam-lock or tongue-and-groove joints, so a small room goes up with a hex key and a ladder.
Why most DIY buyers end up choosing a kit:
- Known insulation value. PU or PIR foam at about 0.022 W/(m·K) is injected or laminated between steel skins in the factory, with no gaps.
- Built-in vapour barrier and hygiene. Metal faces are washable and keep moisture out of the foam.
- Matched refrigeration. The condensing unit and evaporator are sized for the room, temperature and climate.
- Expandable and movable. Modular panels can be taken apart and re-erected or extended.
- Easier approval. Inspectors recognise prefabricated walk-in construction.
A Be There walk-in cold room kit includes 75–200 mm PU or PIR panels, a hinged or sliding insulated door, a matched condensing unit and evaporator, a digital controller, lighting and fixings. You or a local builder assemble the box; a licensed refrigeration technician connects and charges a split system. Small monoblock units come pre-charged and only need mounting and power.
Stud wall builds, DIY insulated panels and SIPs
Building inside an existing room or shed with timber or steel studs is possible, but it is where most DIY walk-in coolers fail. The usual mistakes are fiberglass or mineral-fibre batts, which absorb condensation and lose most of their value once wet, and a vapour barrier with gaps around outlets and corners.
If you build a stud-wall cooler, use closed-cell rigid foam: two or more layers of PIR or XPS boards with staggered joints, all seams taped, then a washable, waterproof interior lining such as food-grade FRP sheet or metal. Four inches (100 mm) of PIR gives about R-24 to R-26. Treat the ceiling and floor the same way. Budget time: a well-sealed stud-wall cooler often takes several times longer to build than a panel kit of the same size.
Are DIY structural insulated panels a good idea?
Making DIY insulated panels by gluing foam board between sheets is rarely worth it. Hand-laminated panels often have voids and weak bonds, and the joints between them are hard to make airtight. Structural insulated panels (SIPs) with OSB faces are designed for houses, not cold rooms: wood faces absorb moisture and are not washable. Our comparison of SIP panels vs sandwich panels explains why cold stores use metal-faced panels. If you want panels only, Be There also supplies PU and PIR cold room panels without refrigeration.
The air conditioner method: what it can and cannot do
Small farms and home growers often cool a well-insulated room with a standard window or mini-split air conditioner and an electronic controller that fools the AC thermostat so it keeps running down to about +2 °C (36 °F). It is a popular low-cost DIY walk-in cooler method, and for the right job it works.
Where it works: rooms up to roughly 3 × 3 m (10 × 10 ft), well insulated, with modest door traffic and produce loaded already cool. Harvest storage, flowers and home brewing are typical uses.
Where it does not:
- Freezers. An AC is not designed to evaporate below freezing for long periods; it cannot hold −18 °C.
- Large or busy rooms. Air conditioners have limited capacity at low room temperatures, and frequent openings overwhelm them.
- Hot climates. Output falls as outdoor temperature rises, just when you need it most.
- Regulated food businesses. Many health departments expect commercial food storage to use equipment listed for that purpose; check before you build.
Expect the AC coil to ice up at times and the unit to work much harder than it would as an air conditioner; running it this way is usually outside its intended use and may affect the manufacturer's warranty. For commercial use, a purpose-built medium-temperature condensing unit or monoblock is the better long-term choice.
The DIY walk-in cooler door
The door is the weakest point of almost every home-made cooler. It must be insulated to the same standard as the walls, seal on all four sides, close itself, open from inside and survive thousands of cycles a year. A home-made DIY walk-in cooler door built from foam board and plywood usually warps, leaks air and grows ice around the frame within a season.
A prefabricated cold room door solves this. Look for:
- A foam-filled leaf of the same thickness as the walls.
- Magnetic or compression gaskets on all sides and a sweep or gasket at the threshold.
- Spring or cam-rise hinges that close the door automatically.
- An inside safety release so nobody can be trapped.
- A heated frame if the room will run near or below 0 °C.
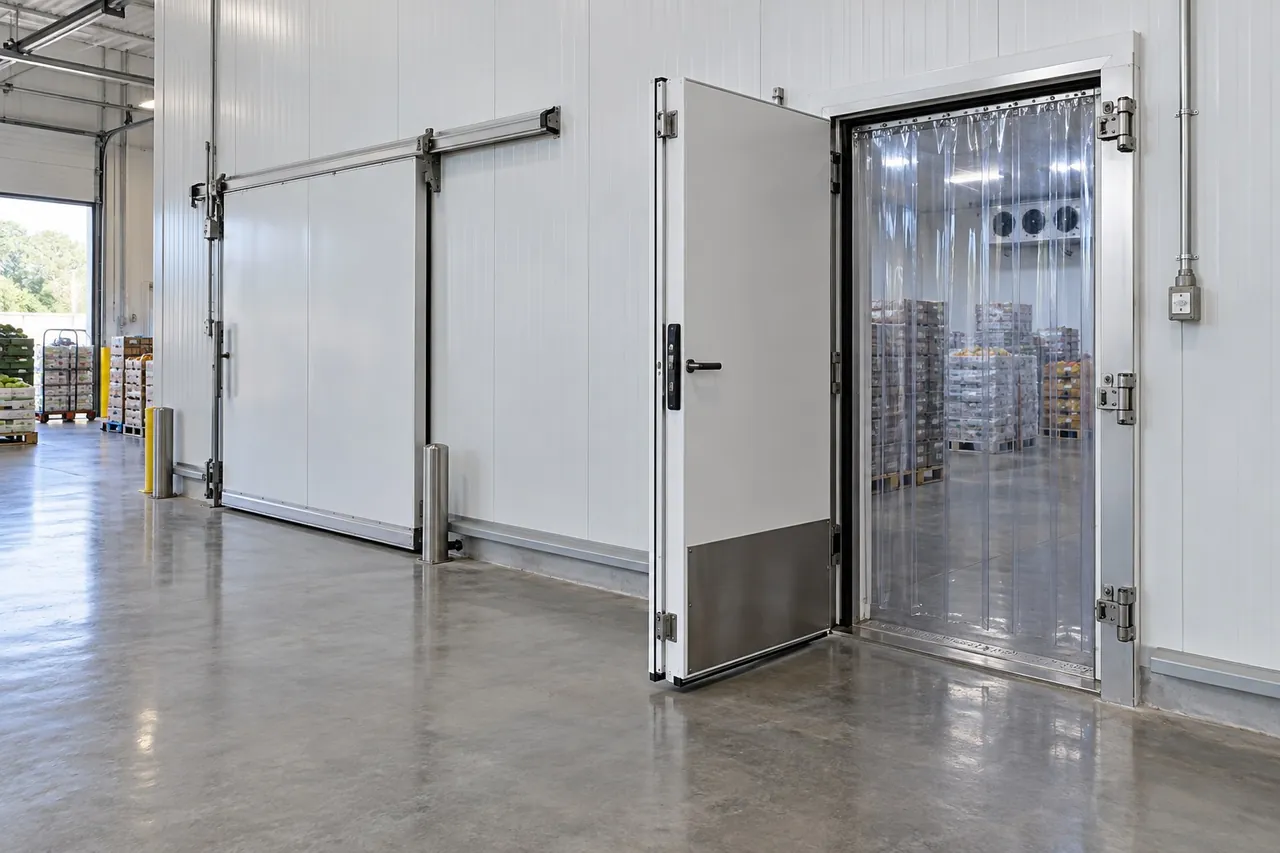
- A strip curtain if the door opens often.
Doors can be bought separately and fitted into a stud wall, which is a good compromise if you are building your own walls. Our guide to walk-in cooler doors compares hinged, sliding and glass versions and the sizes available.
Brew walk-in coolers and residential walk-in coolers
Brew walk-in coolers. Breweries, brewpubs and bars use walk-in coolers for kegs, packaged beer and sometimes cold conditioning. Kegs are usually held at about +1 °C to +4 °C (34–39 °F). Points to plan for in brew walk-in coolers:
- A floor strong enough for full kegs and pallet trucks, with a non-slip finish and drainage.
- A door wide enough for kegs on a trolley, often 1.2 m (4 ft) or a sliding door.
- Beer line ports through the wall to the bar, sealed and insulated.
- Refrigeration sized for the pull-down of warm kegs delivered at once.
Glycol chillers for fermenters and draught lines are separate equipment; the walk-in only stores the beer.
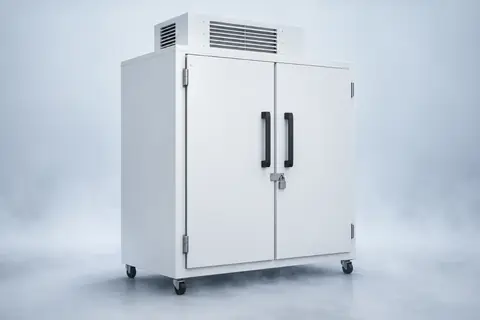
Residential walk-in coolers. A residential walk-in cooler for game, garden produce, entertaining or a home brewery is typically 1.8 × 1.8 m to 2.4 × 3.0 m (6×6 to 8×10 ft). Noise and heat matter most indoors, so a remote condensing unit outside or a roof-mounted monoblock venting outdoors is usually worth the extra cost. For a home room, a panel kit is still the quickest way to a cooler that stays dry and holds temperature.
How to build a DIY walk-in cooler from a panel kit
A small panel kit can typically be assembled by two people in one to two days, plus refrigeration hook-up. The outline below is the order most kits follow; always use the drawings supplied with your kit.
- Check the floor. Make sure the floor is level within about 3 mm per metre (1/8 in per 3 ft) and dry. Coolers can sit on a sound slab; freezers need floor panels or an insulated slab.
- Lay out the base. Mark the footprint, fix the floor channel or floor panels, and square the corners by measuring both diagonals.
- Stand the corner panels. Start at one corner, stand two wall panels and lock their cam-locks or tongue-and-groove joints, then work around the room.
- Fit the ceiling panels. Lay ceiling panels across the walls, lock them, and add hangers or a support beam on wider spans as the drawings show.
- Hang the door. Fit the door panel and frame, adjust the hinges or sliding track so the gasket seals evenly all round, and wire the frame heater if fitted.
- Seal every joint. Run food-safe silicone along all inside joints and fit cover trims; airtight joints stop ice and condensation.
- Install the refrigeration. Mount the evaporator inside and the condensing unit outside or on the roof; a licensed technician should connect, evacuate and charge any split system.
- Pull down and test. Bring the room down to temperature over several hours and log readings for 24 hours before loading product.
Before ordering, confirm room size, temperature, power supply (for example 220 V/1/50 Hz or 115 V/1/60 Hz), where the condensing unit can go and the door size you need. Send those details through our inquiry form for a quotation on a complete kit, delivered FOB, CIF or DDP.